For this wood material, I used a custom workflow that I learned and refined during the making of a few similar projects.
For this, I had to rely on photos, AI upscaling, albedo baking and some other cool tricks to get the base materials from a photo.
The source images need to be specific for the project at hand because wood shows unique patterns based on how it is shaped.
There is a difficulty factor in finding good source material without creating it yourself, so here’s your early tip: be patient!
(or if you have access to your specific rifle and a good camera, make your own source materials)
When creating the wood texture,
we’ll go through the following steps:
Mesh Prep
AI upscaling
Applying photo-based textures
Color correction
Generating Heigh & Roughness from a photo
Albedo baking
Final touch-ups
Mesh Prep
Unwrapping the highpoly: In Blender, I used the unwrapping function “project from view”, which makes the UV’s follow the camera view (similar with planar projection from Substance Painter).
Unwrap in such a way to make 3 major textures possible: Left and Right (which uses the project from view unwrap) and Up-Down/Front-Rear mapping (created with auto unwrap).
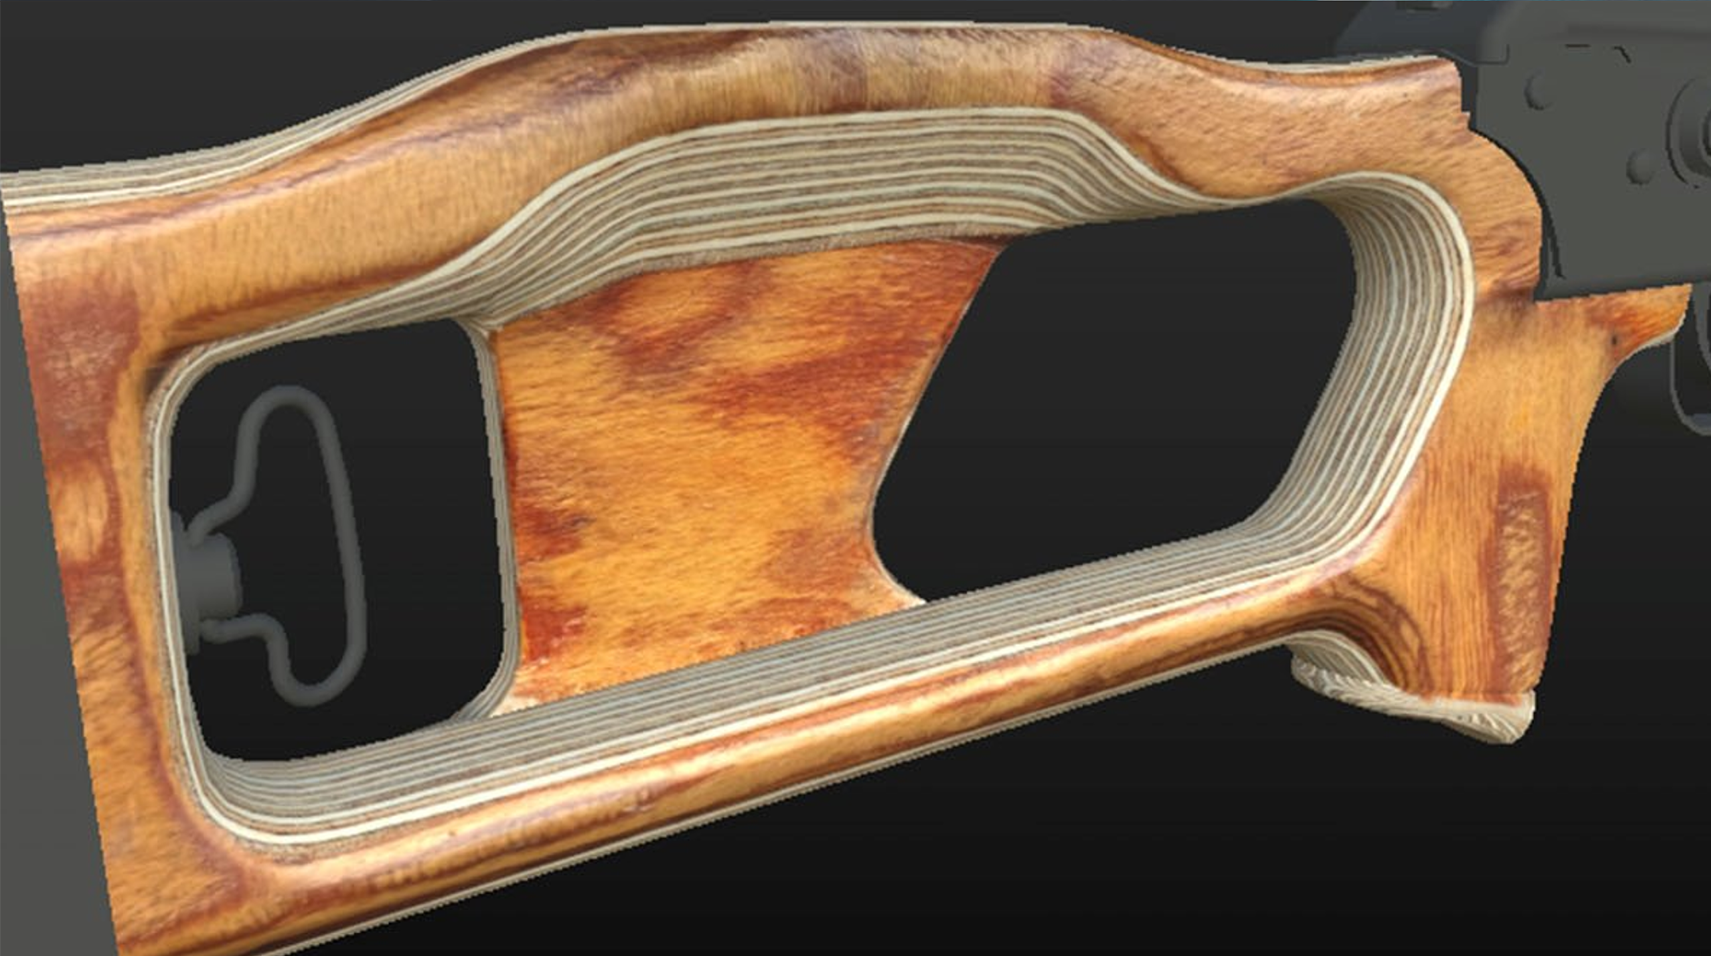
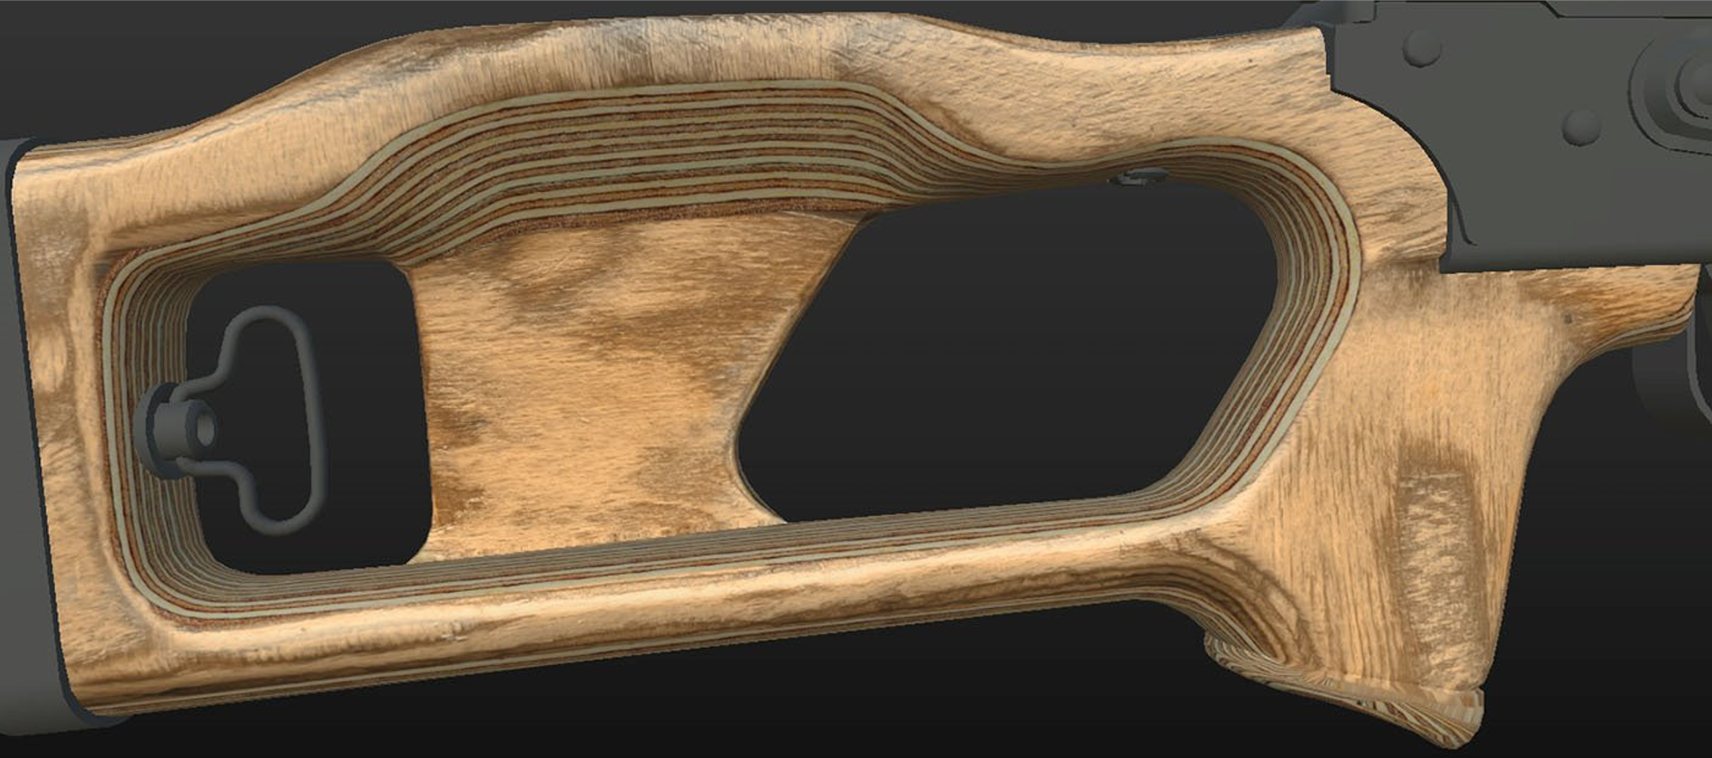
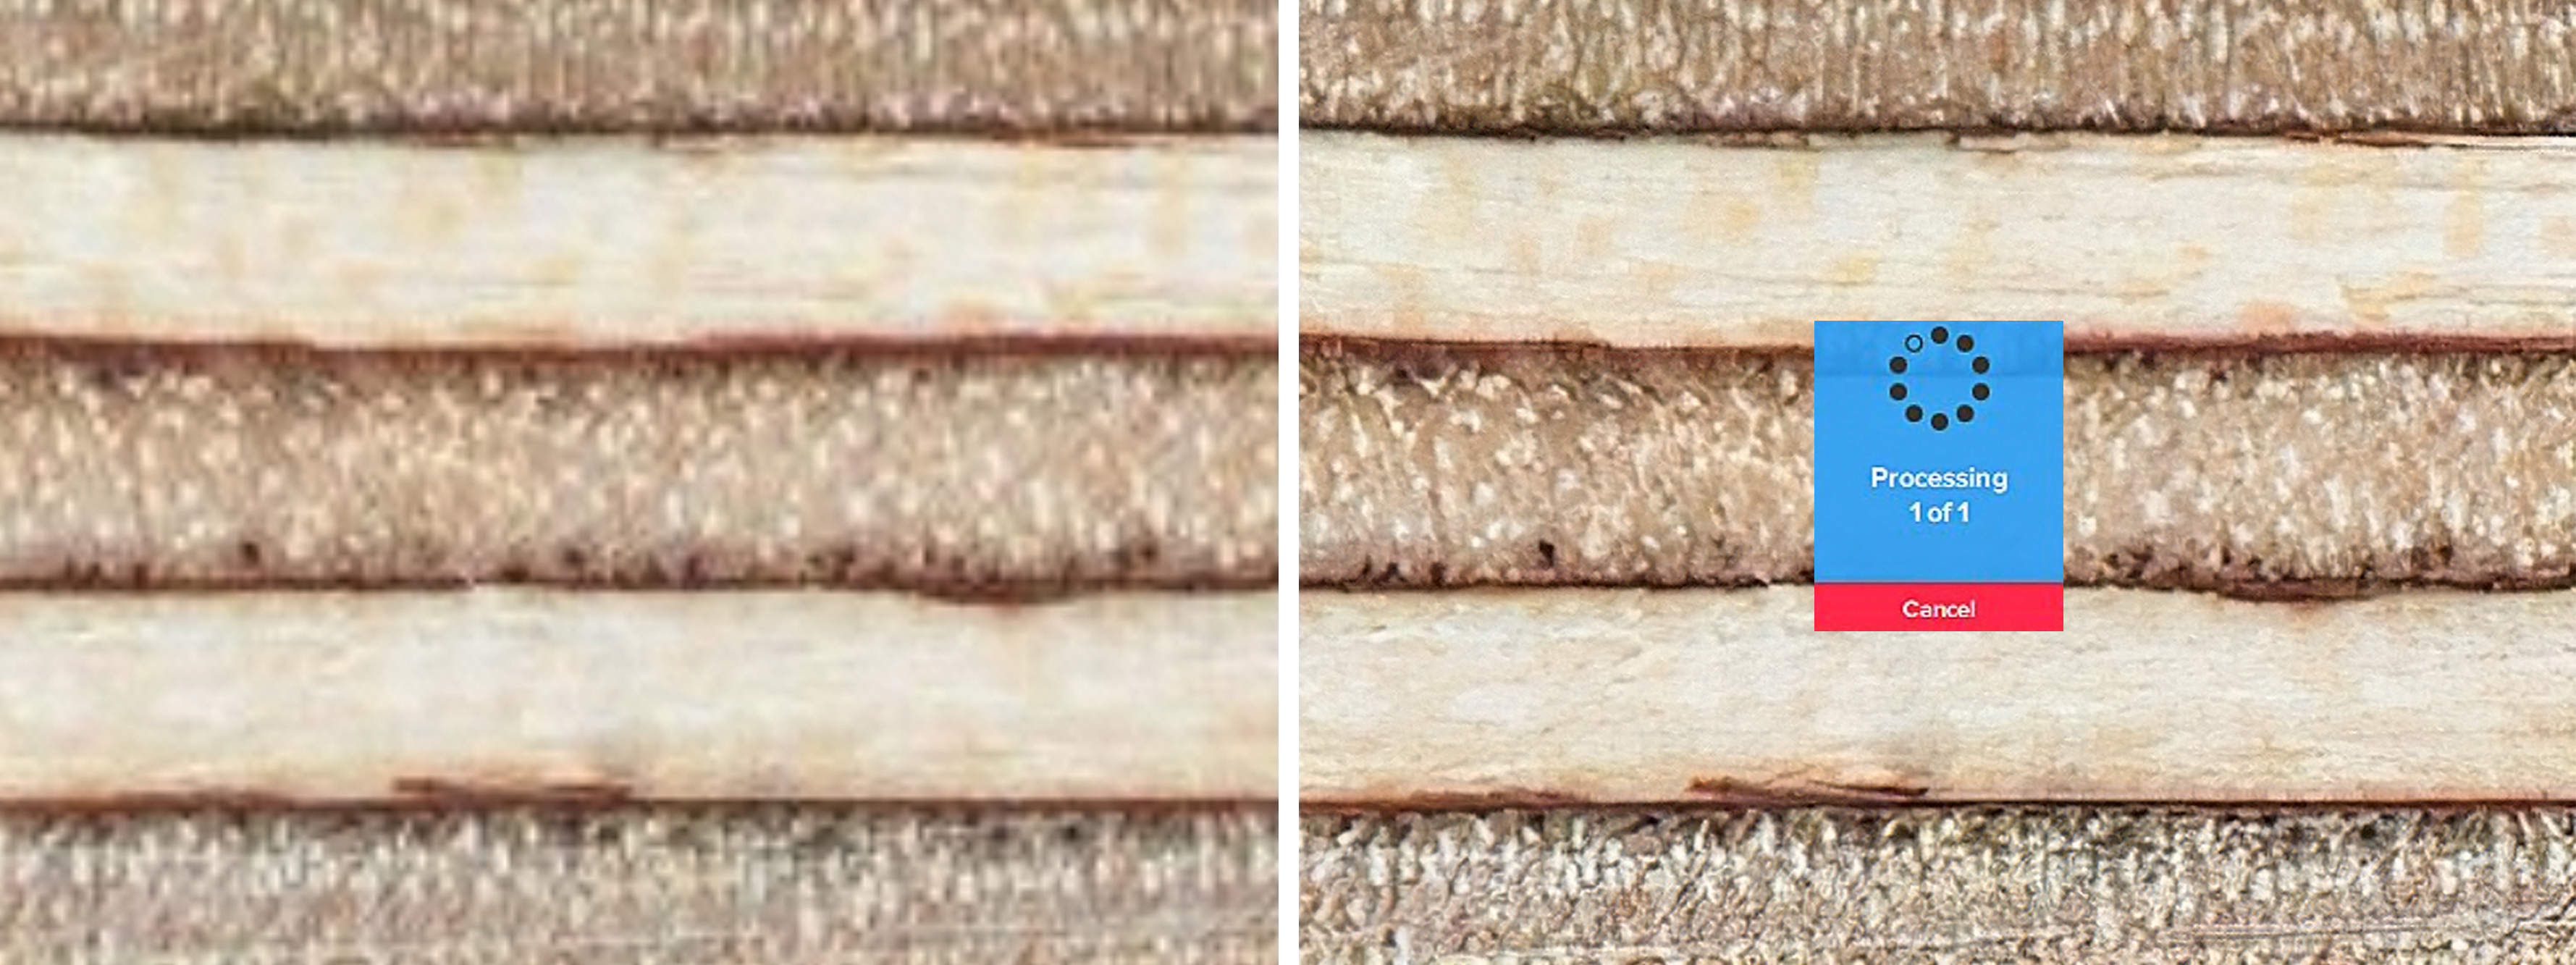
Before diving into the texturing stage, the first step is preparing the highpoly objects.
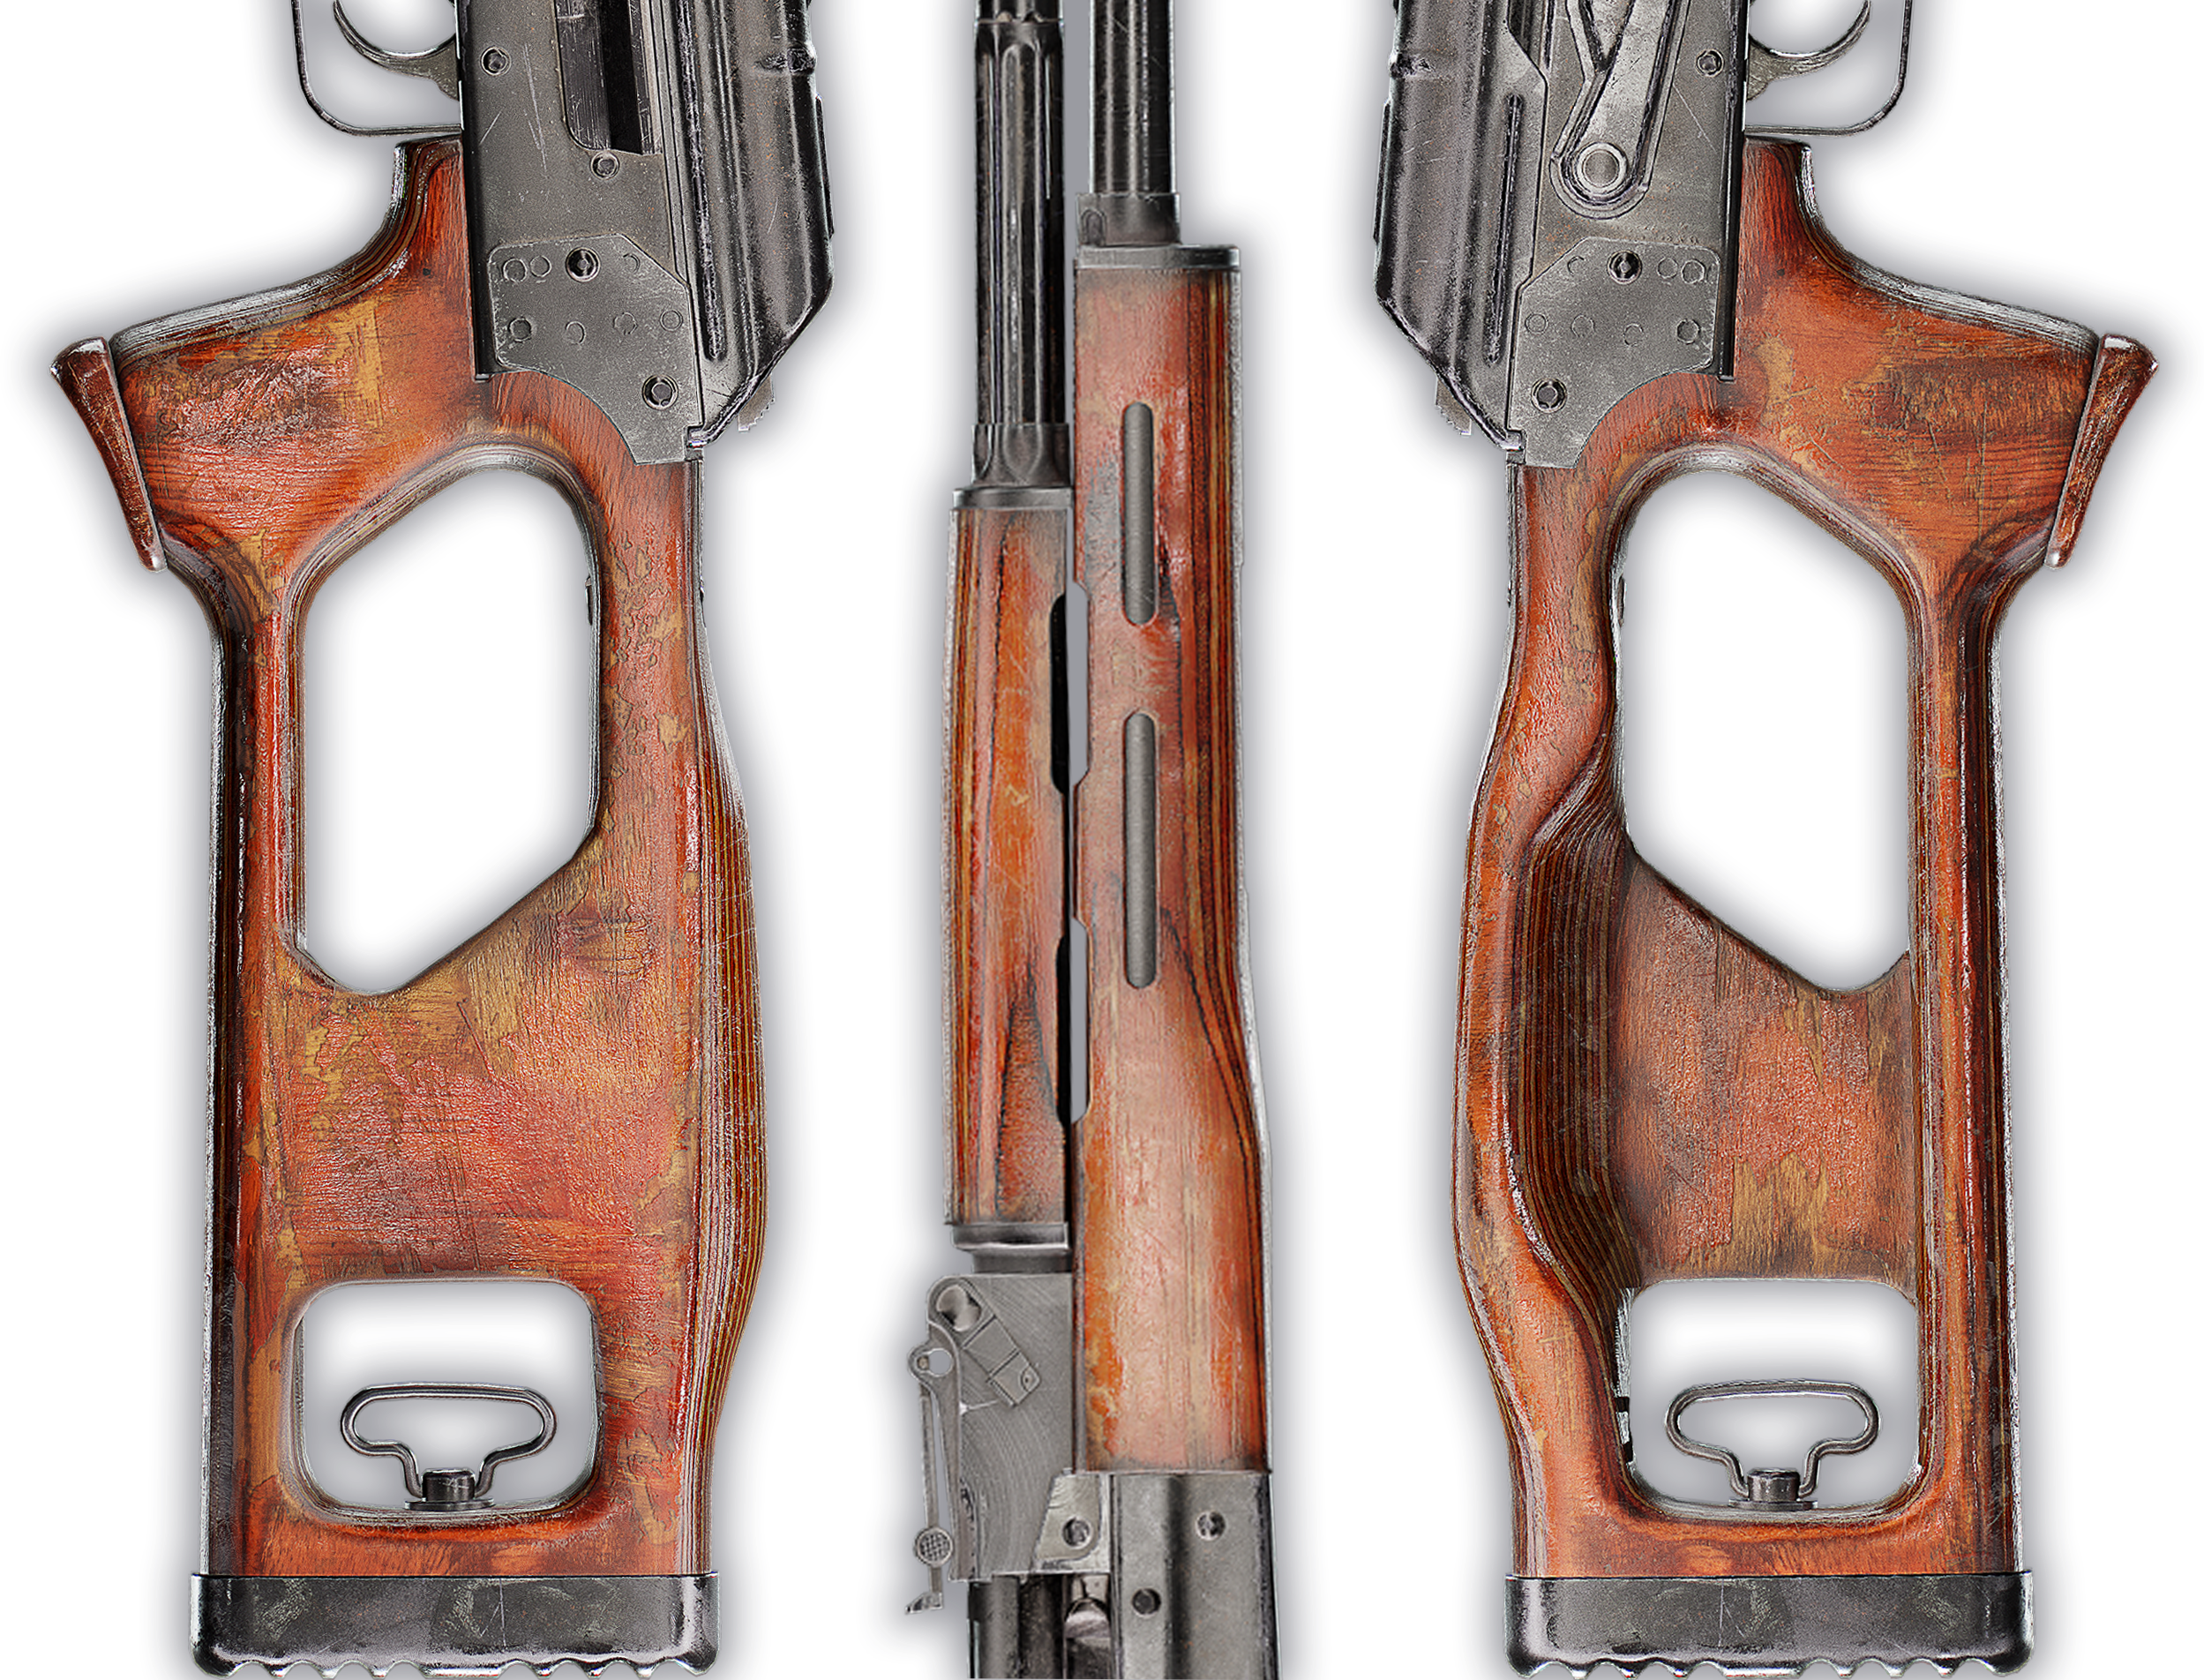
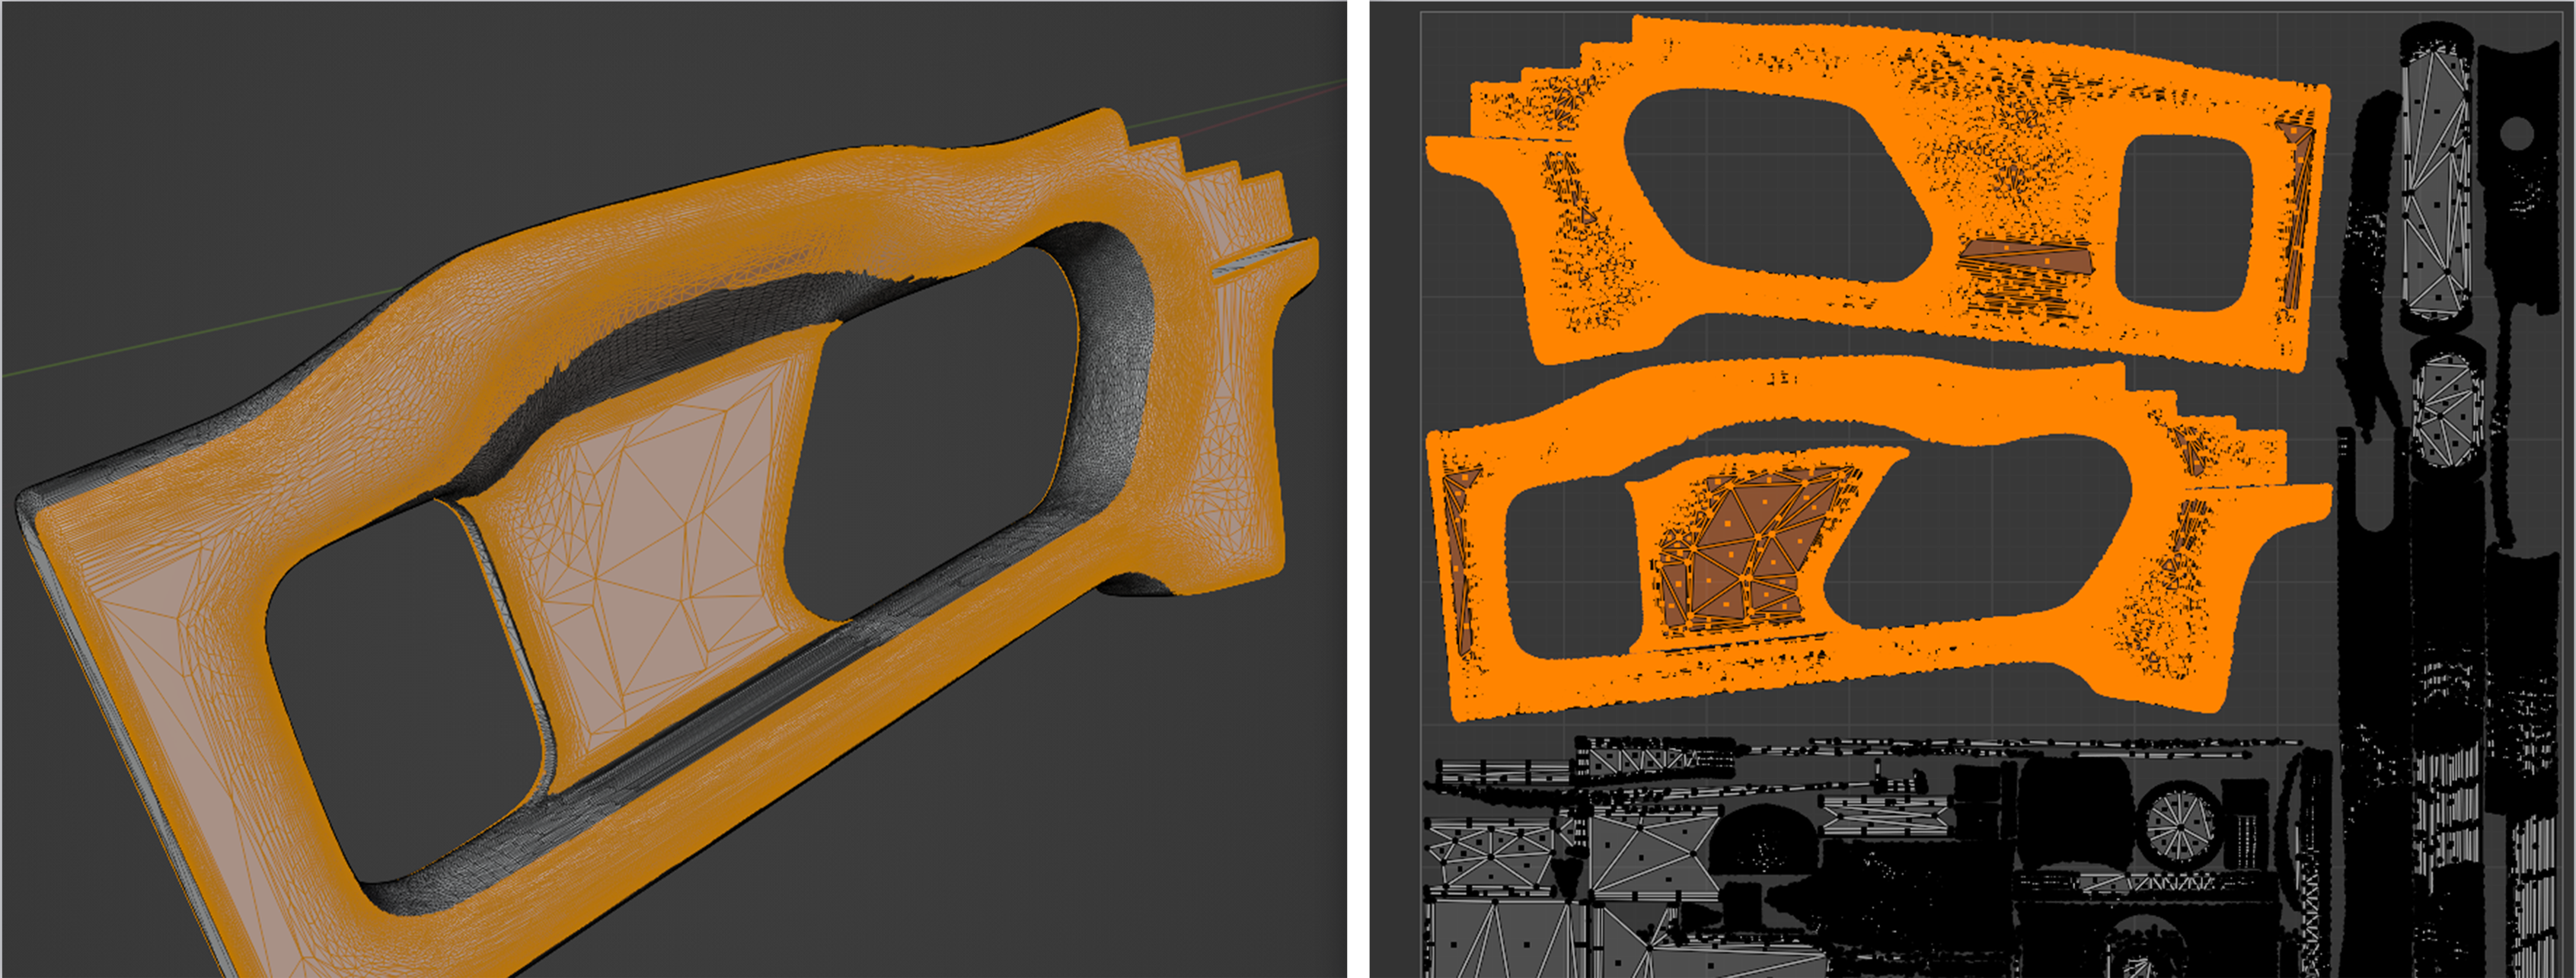
We’ll be using the highpoly mesh because, just like when baking regular maps, baking albedo from a highpoly has the same effect: a clean texture (avoid texturing straight to lowpoly, notice the left 2 images below how it’s stepping). The left images below represent a projection on the LP mesh (notice the direction change that happens on the geometry lines).
The right images are projected on a HP mesh and then transferred on the LP with the use of albedo baking.
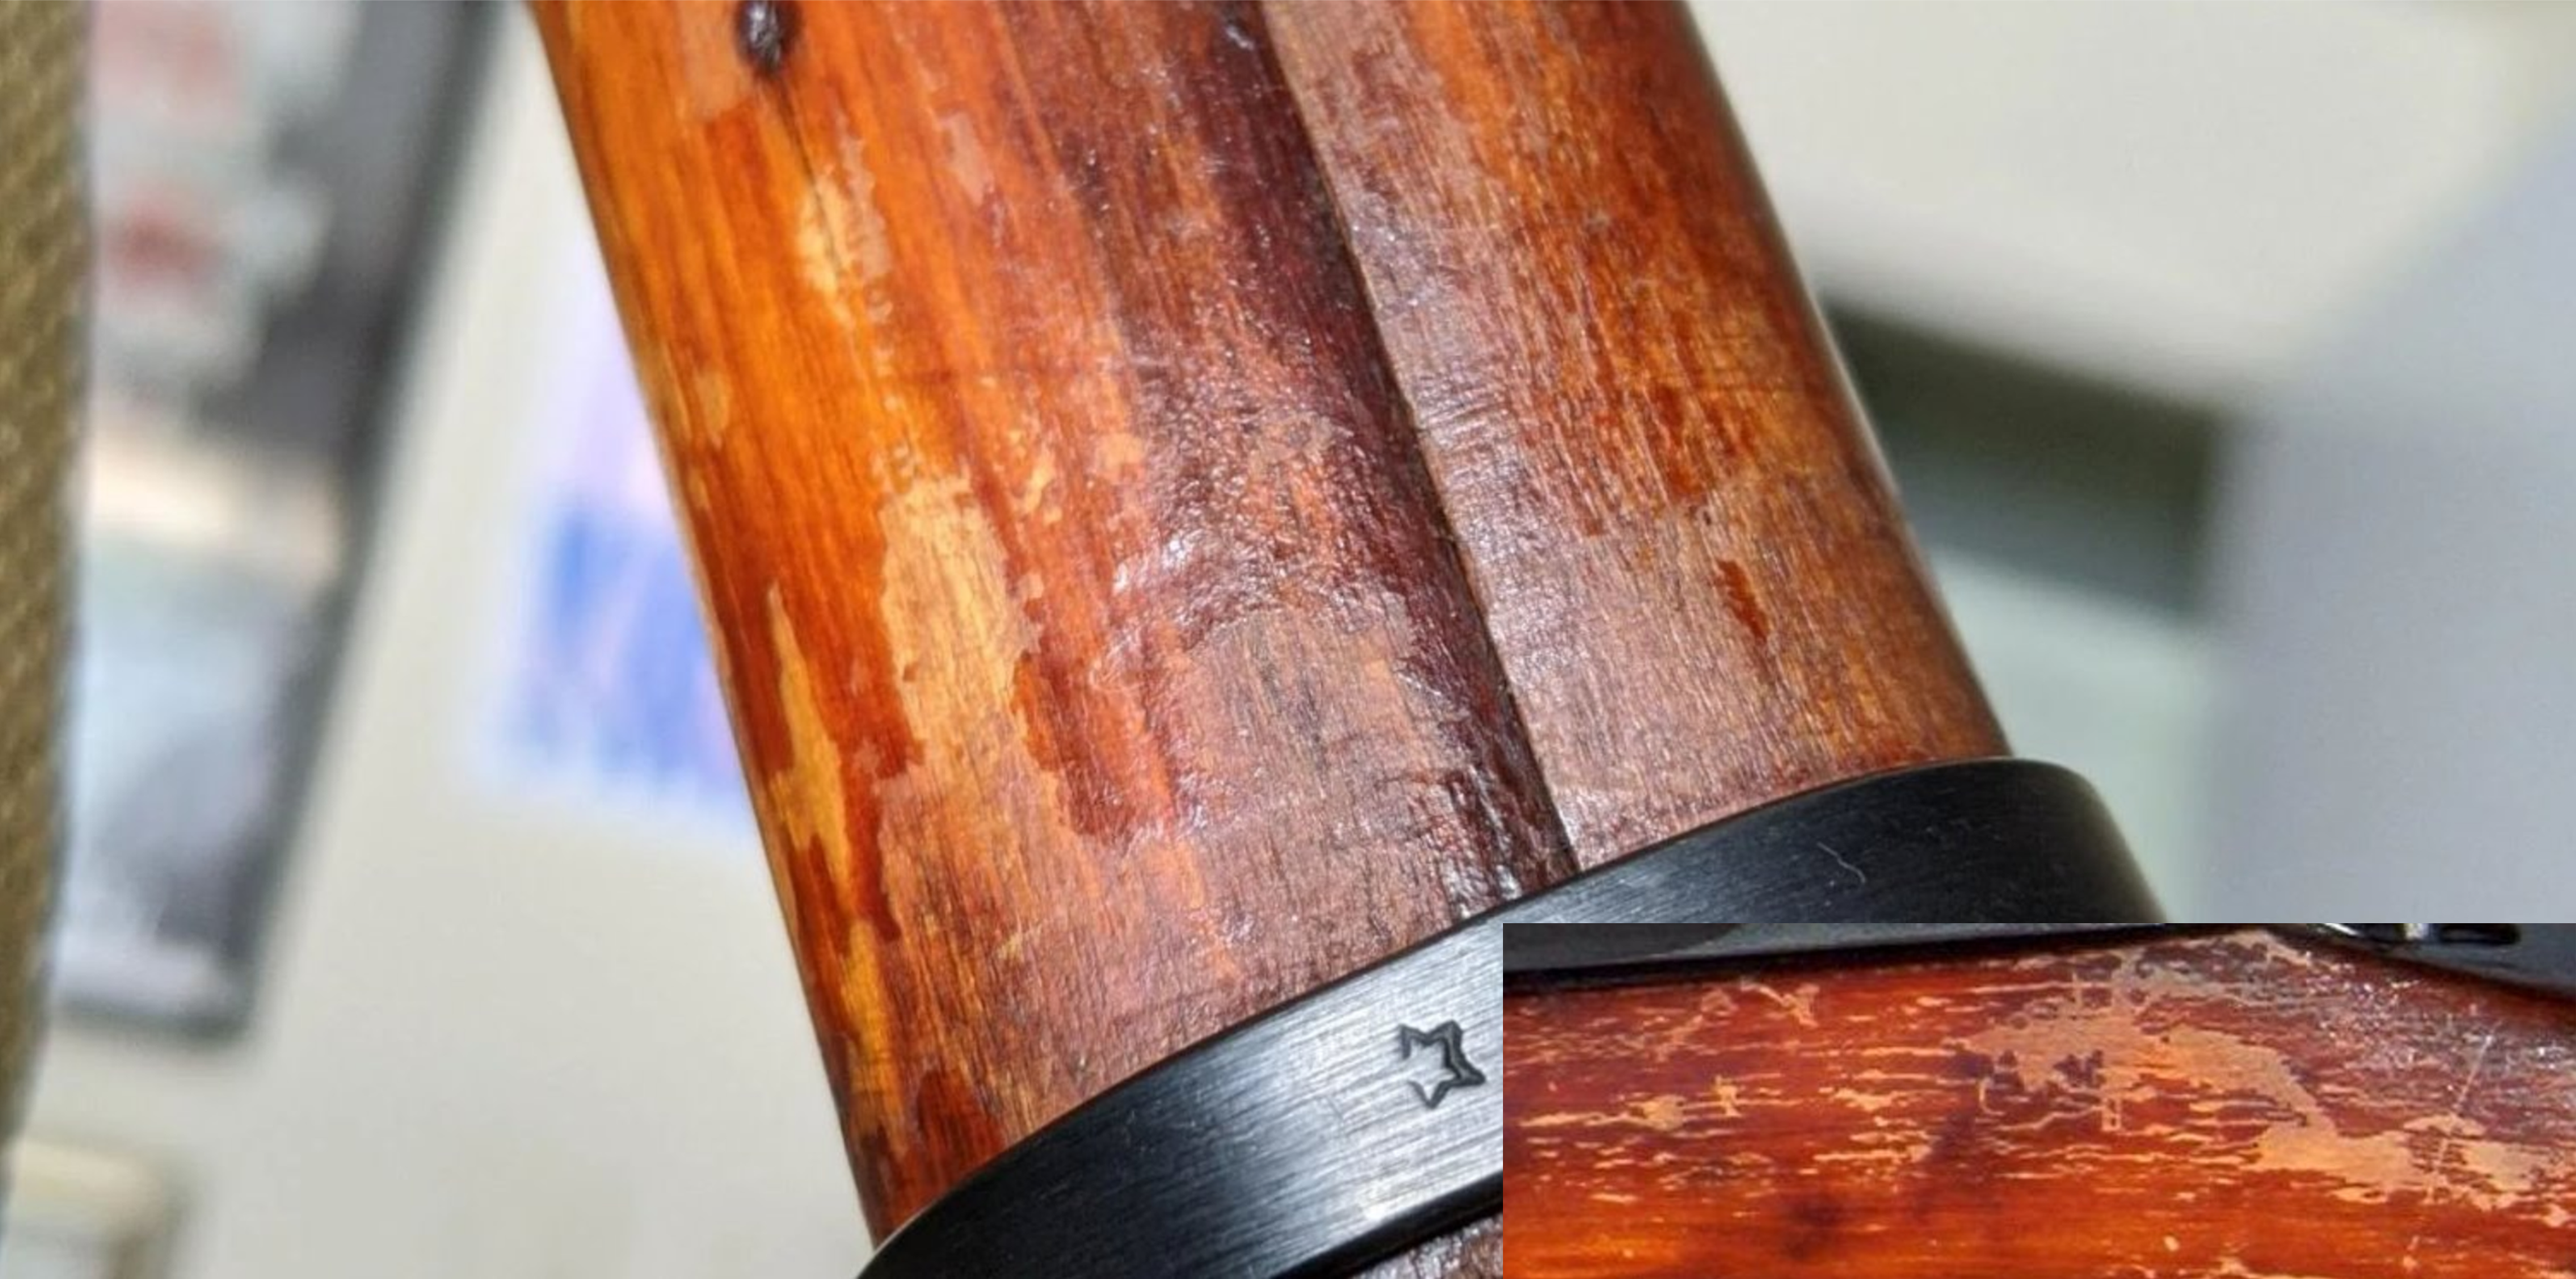
Source Materials & AI upscaling
When searching for source material, your goal is to find the texture that will best represent your model.
I think it’s more important to have the right details than to have the best resolution.
AI upscaling can help a lot in adding the missing detail but it won’t create anything on its own. Try to start from a good image with details that fit your model.
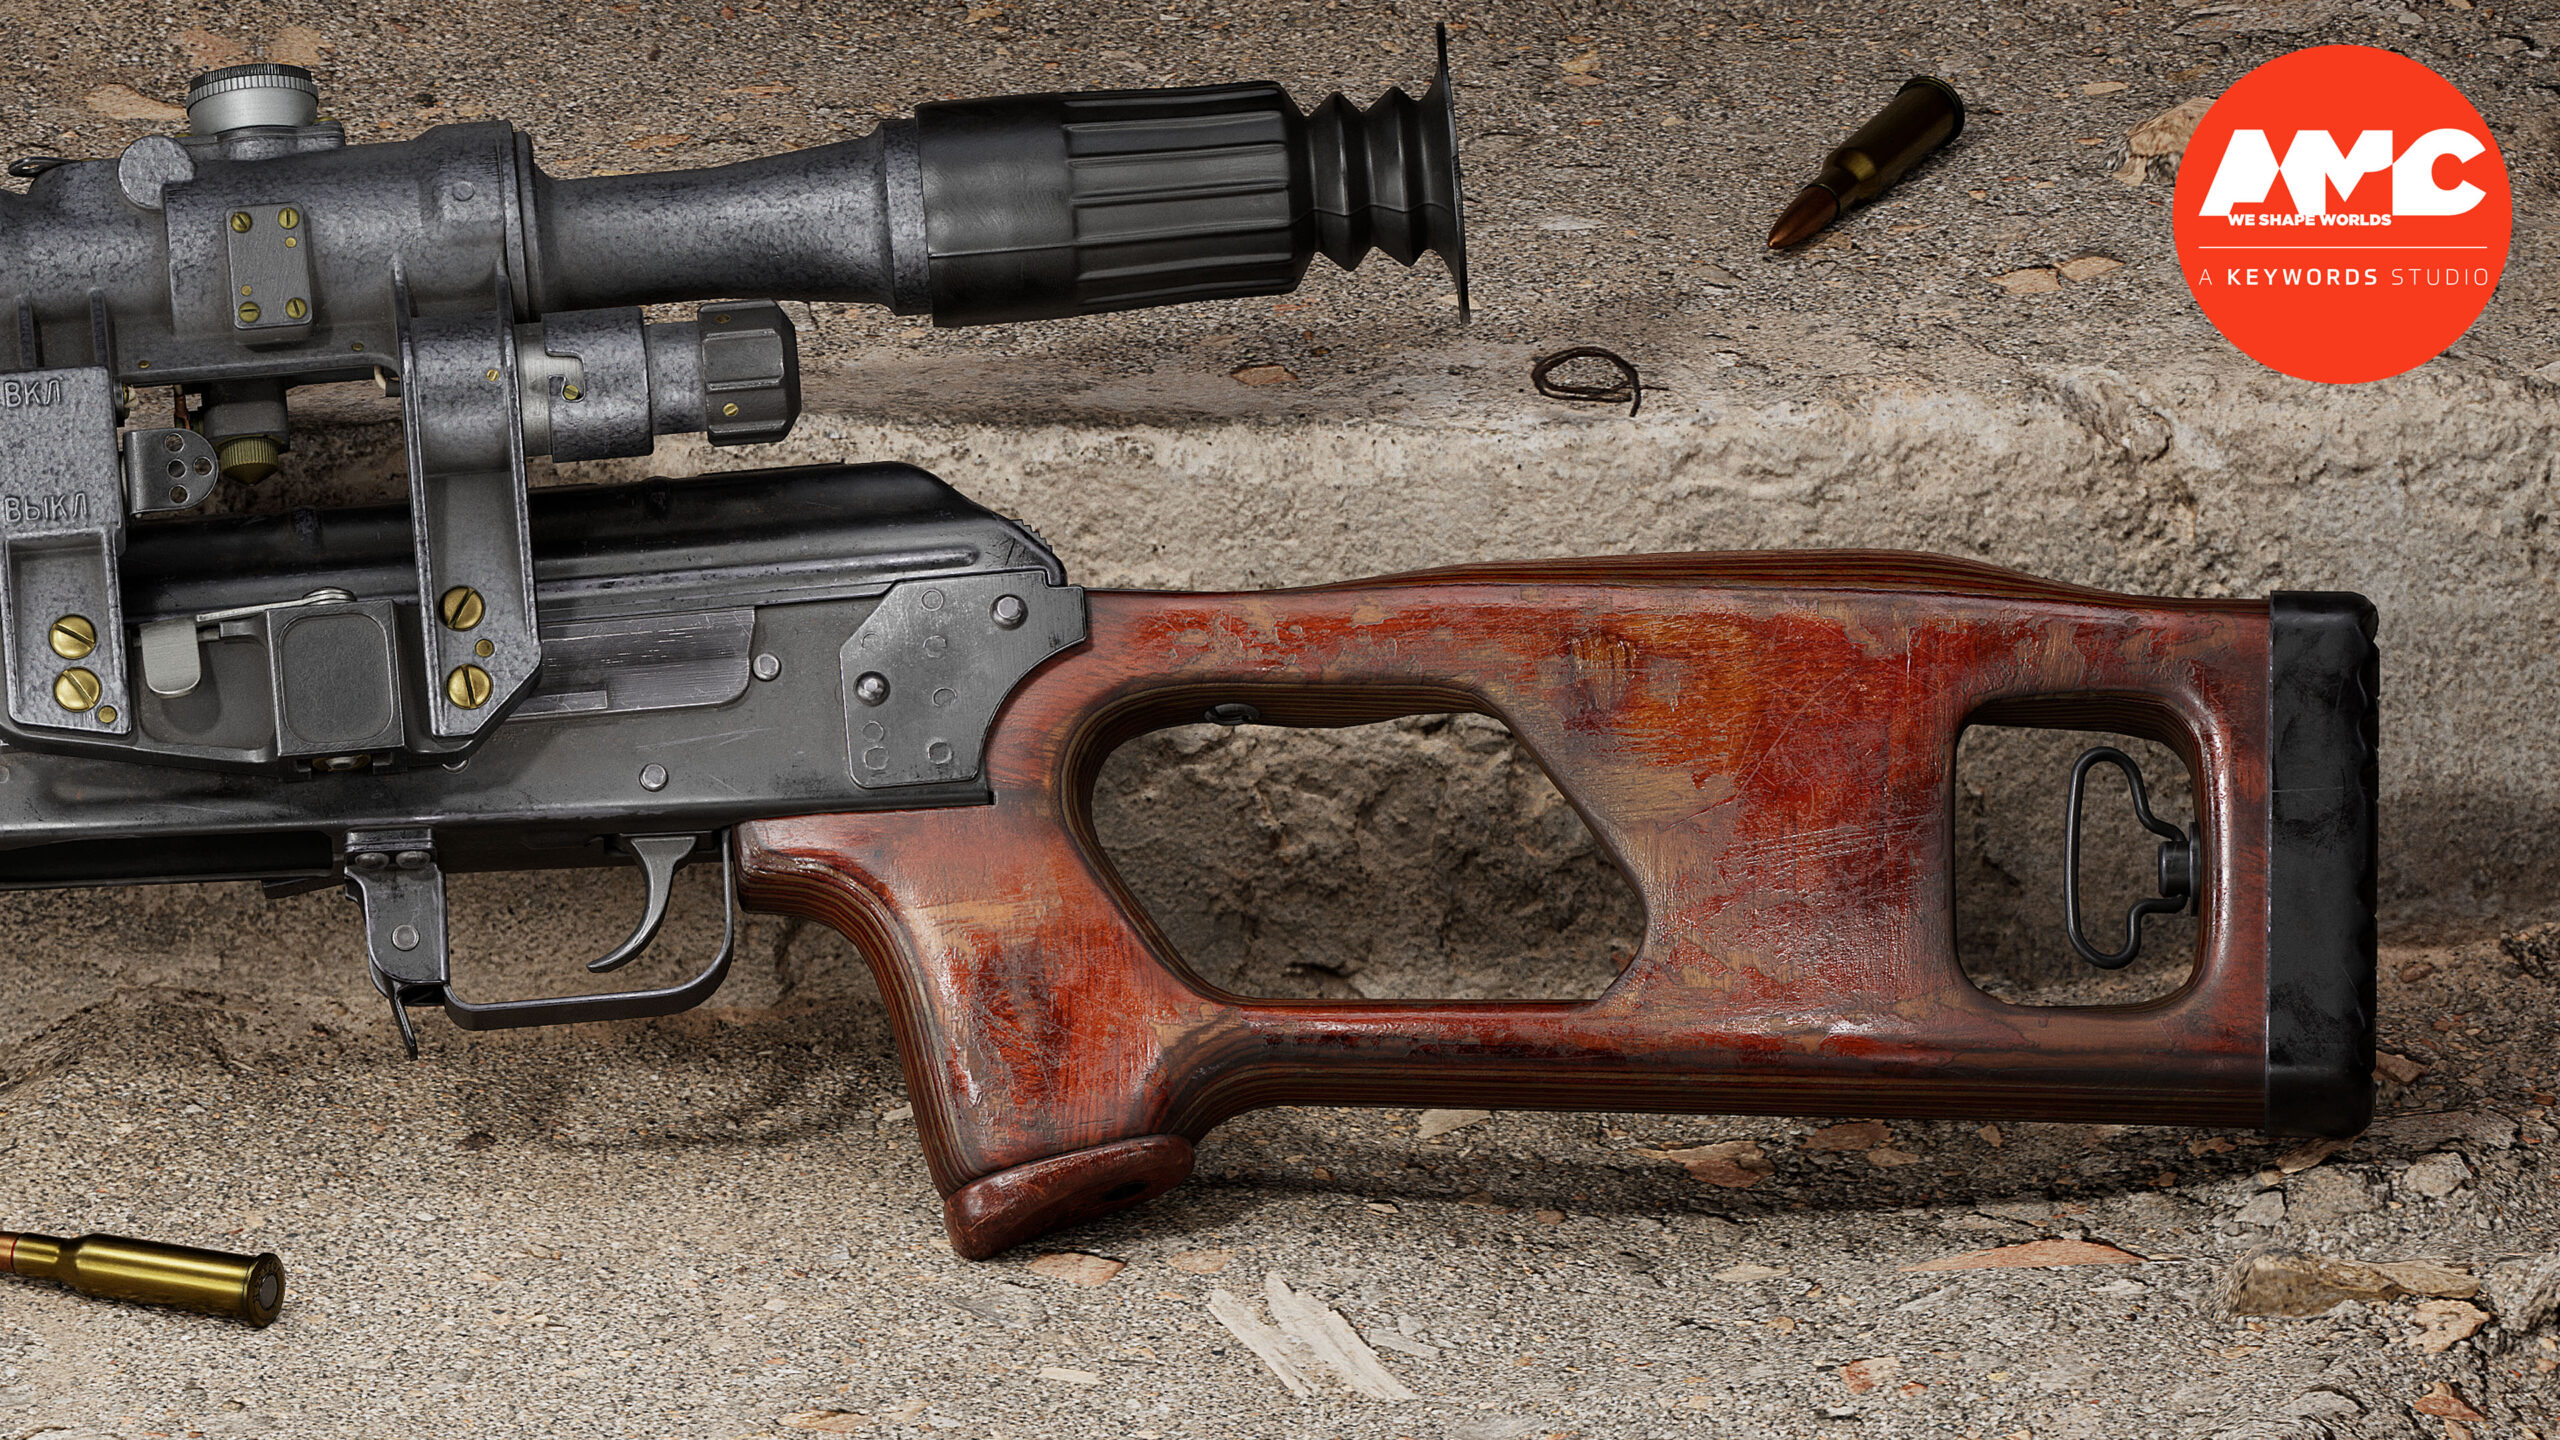
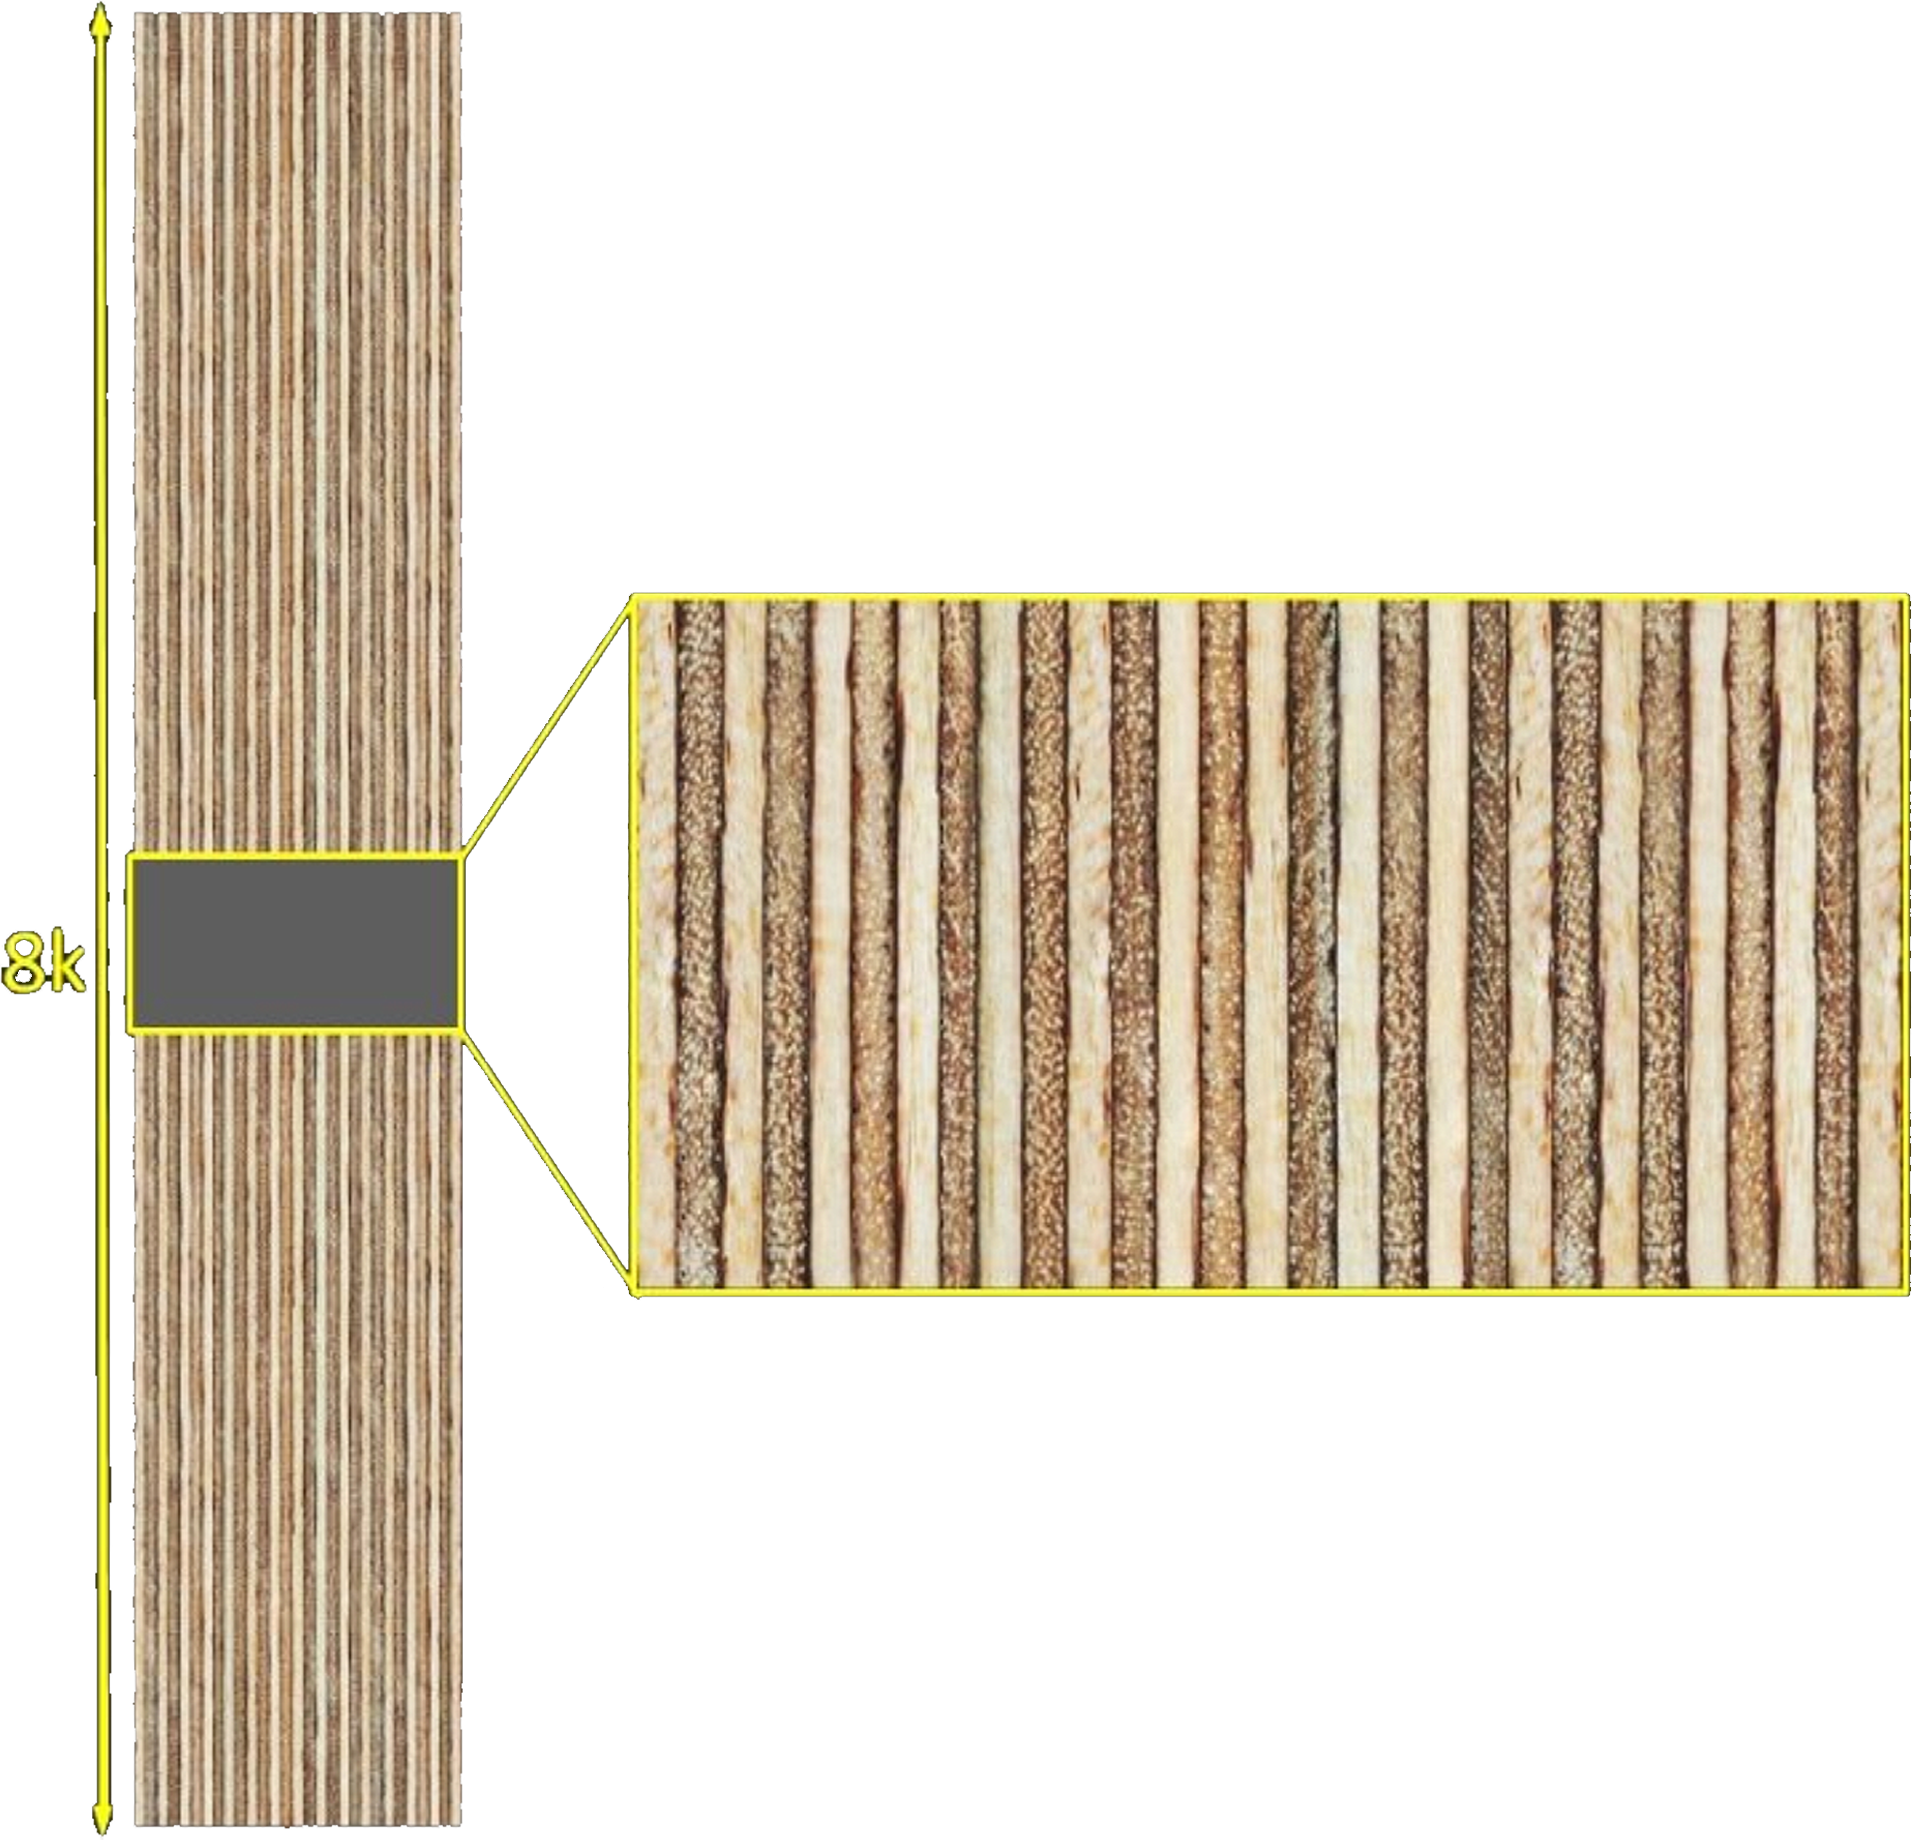
The first material I created for the wood elements is the plywood.
(the image on the left is the final result)
I used Gigapixel AI because it offers a perpetual license for a software that you can download. It’s not the best but it’s the most convenient.
Another option is using an online upscaler like Deep-Image (it does a better job upscaling but you have to pay for each image).
Applying photo-based textures
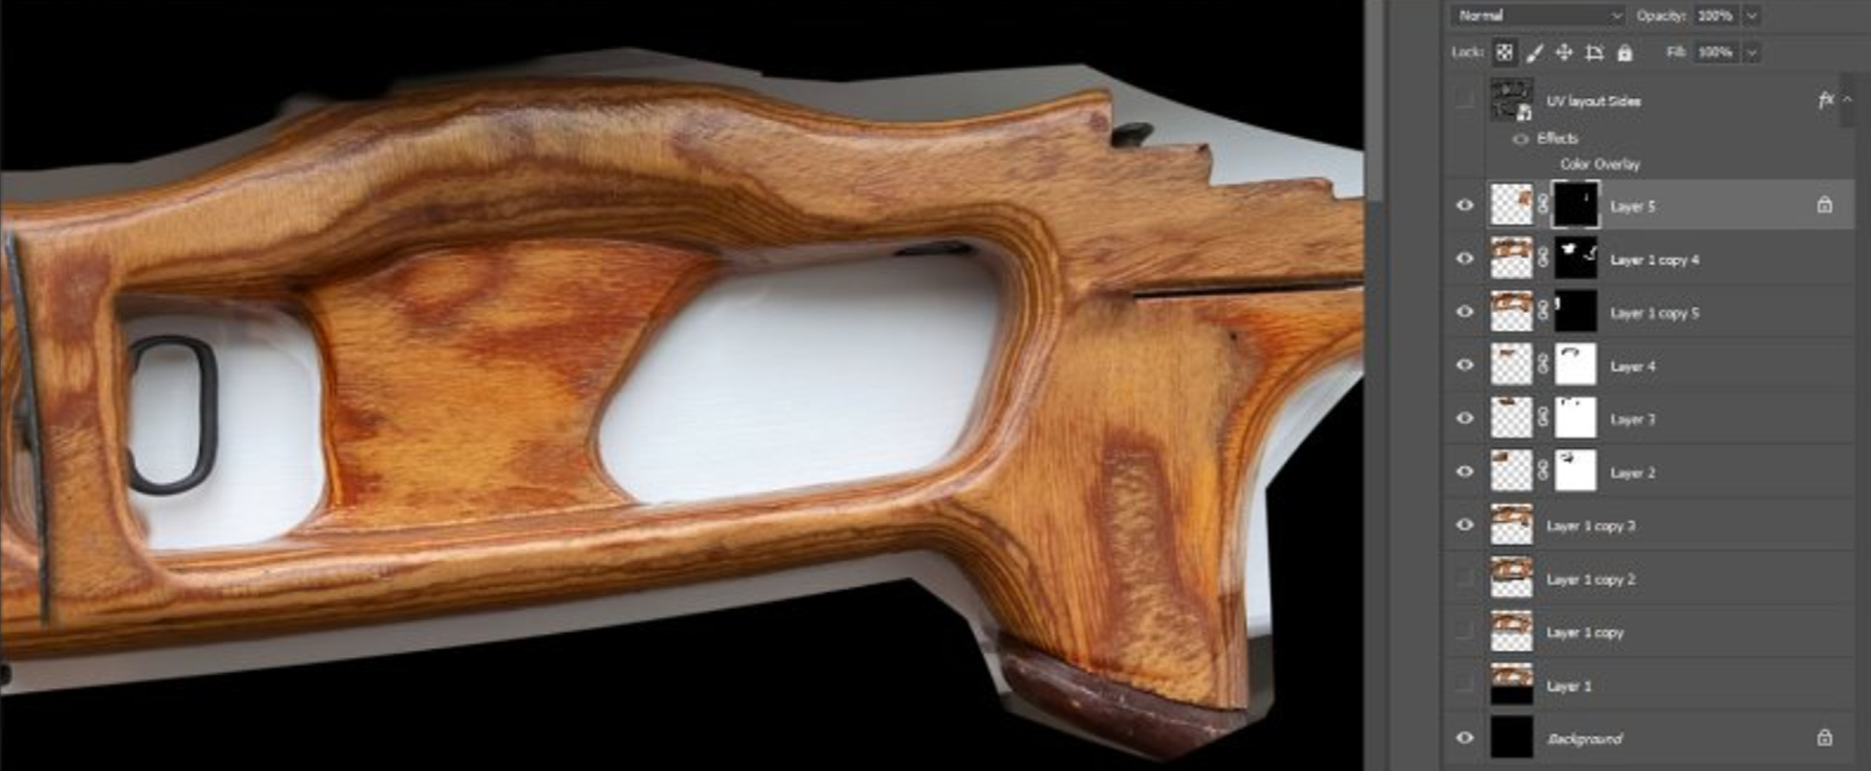
I exported a UV layout and, in Photoshop, I started to overlay and distort my source image so I can match the flow of my UV (to keep the realistic and organic flow of the wood grains).
With Marmoset and Photoshop on different screens, I had to keep tweaking the image in order to have good coverage on my model. At this stage it does not need to be perfect, I just needed it to be 90% there.
After applying the Left and Right textures in Photoshop, it was time to merge all source materials together.
In Substance Painter, I carefully placed where my sides go, and together with the previously made plywood tilable material, it was now a full texture.
(but far from usable).
Color Correction
Depending on how varied your source materials are, it will take some patience to blend everything together and give it a natural look like you would see in a raw piece of wood.
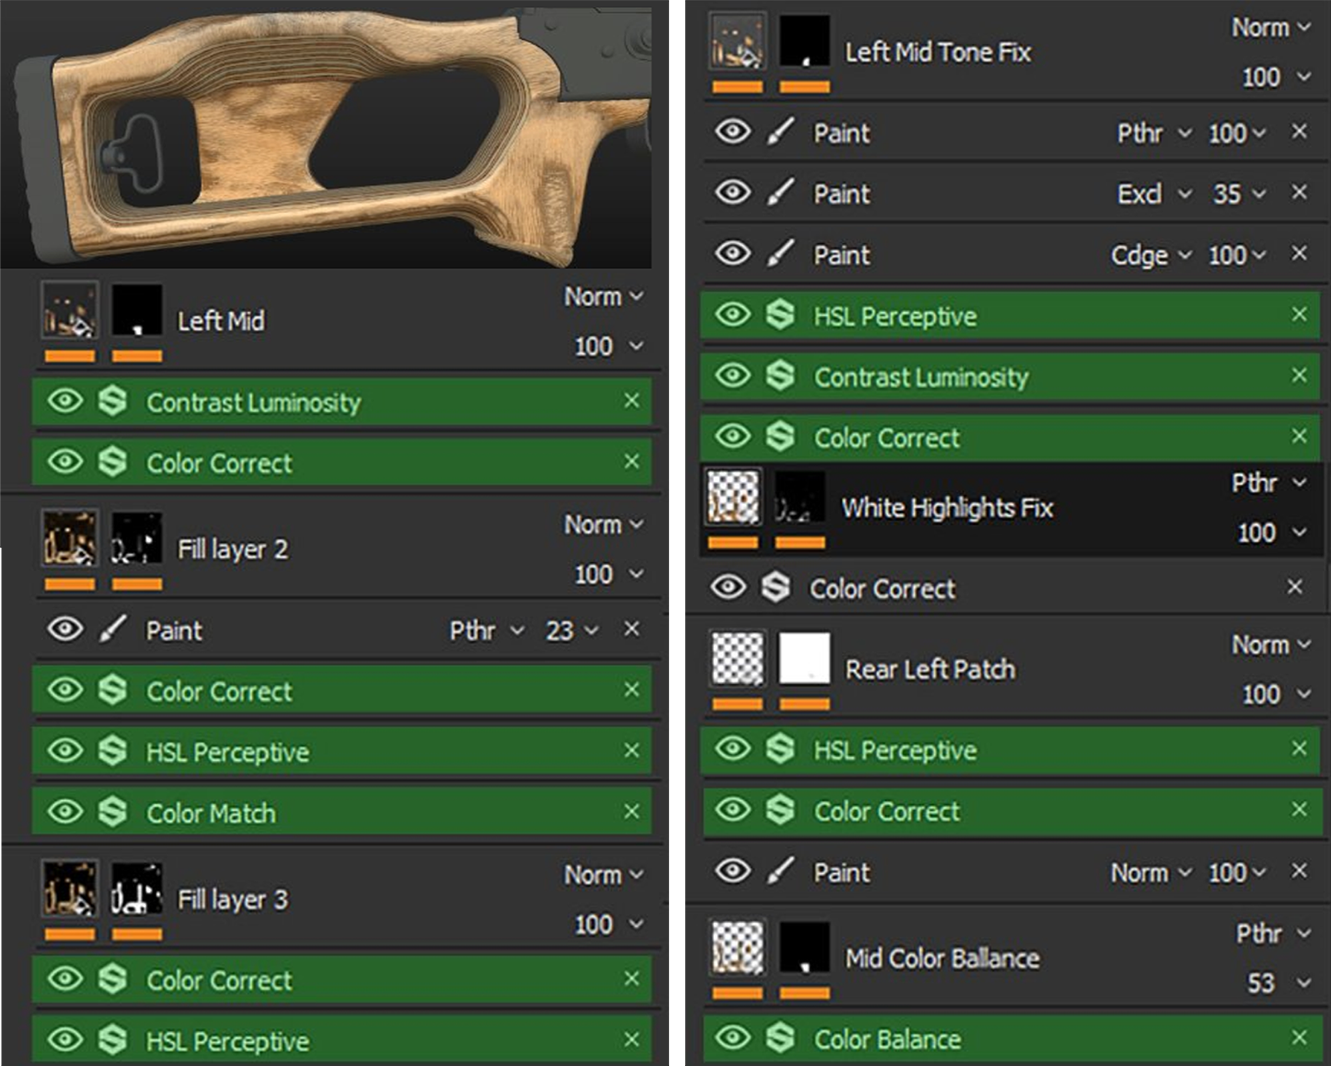
The goal of color correction is to have a uniform color and contrast throughout the entire texture.
Color correction is an active process of matching each layer you add and creating a uniform and natural look.
It’s a bit hard to show what each layer does because most of the work is a sum of small tweaks.
In simple terms, your goal is to go from:
Source to Final
After all of these steps, the wood base color is pretty much 90% of the way there.
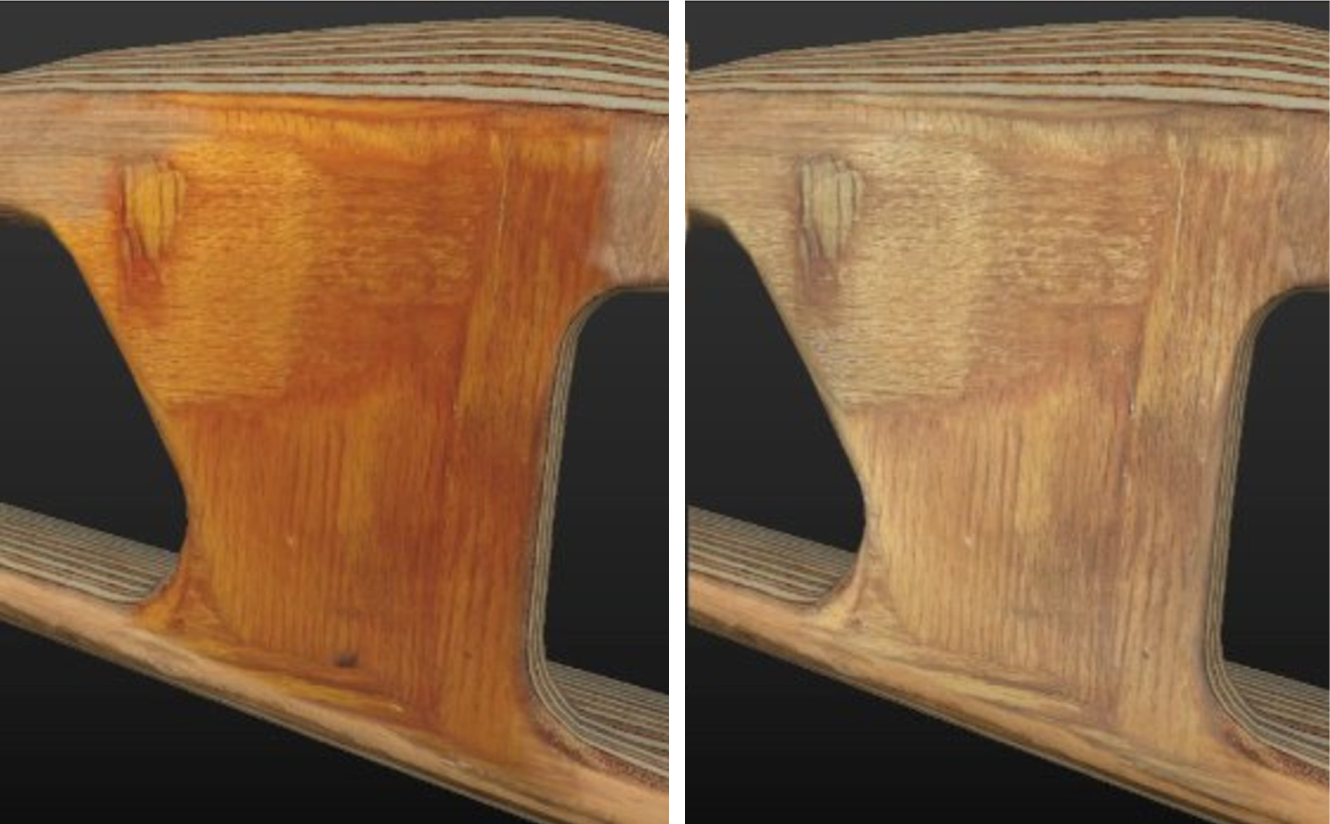
Small color touch-ups:
Replacing and fading in a different wood texture on top of a:
• blown out highlight • blurry part • damage you don’t want • visible blend • too contrasty/different hue part
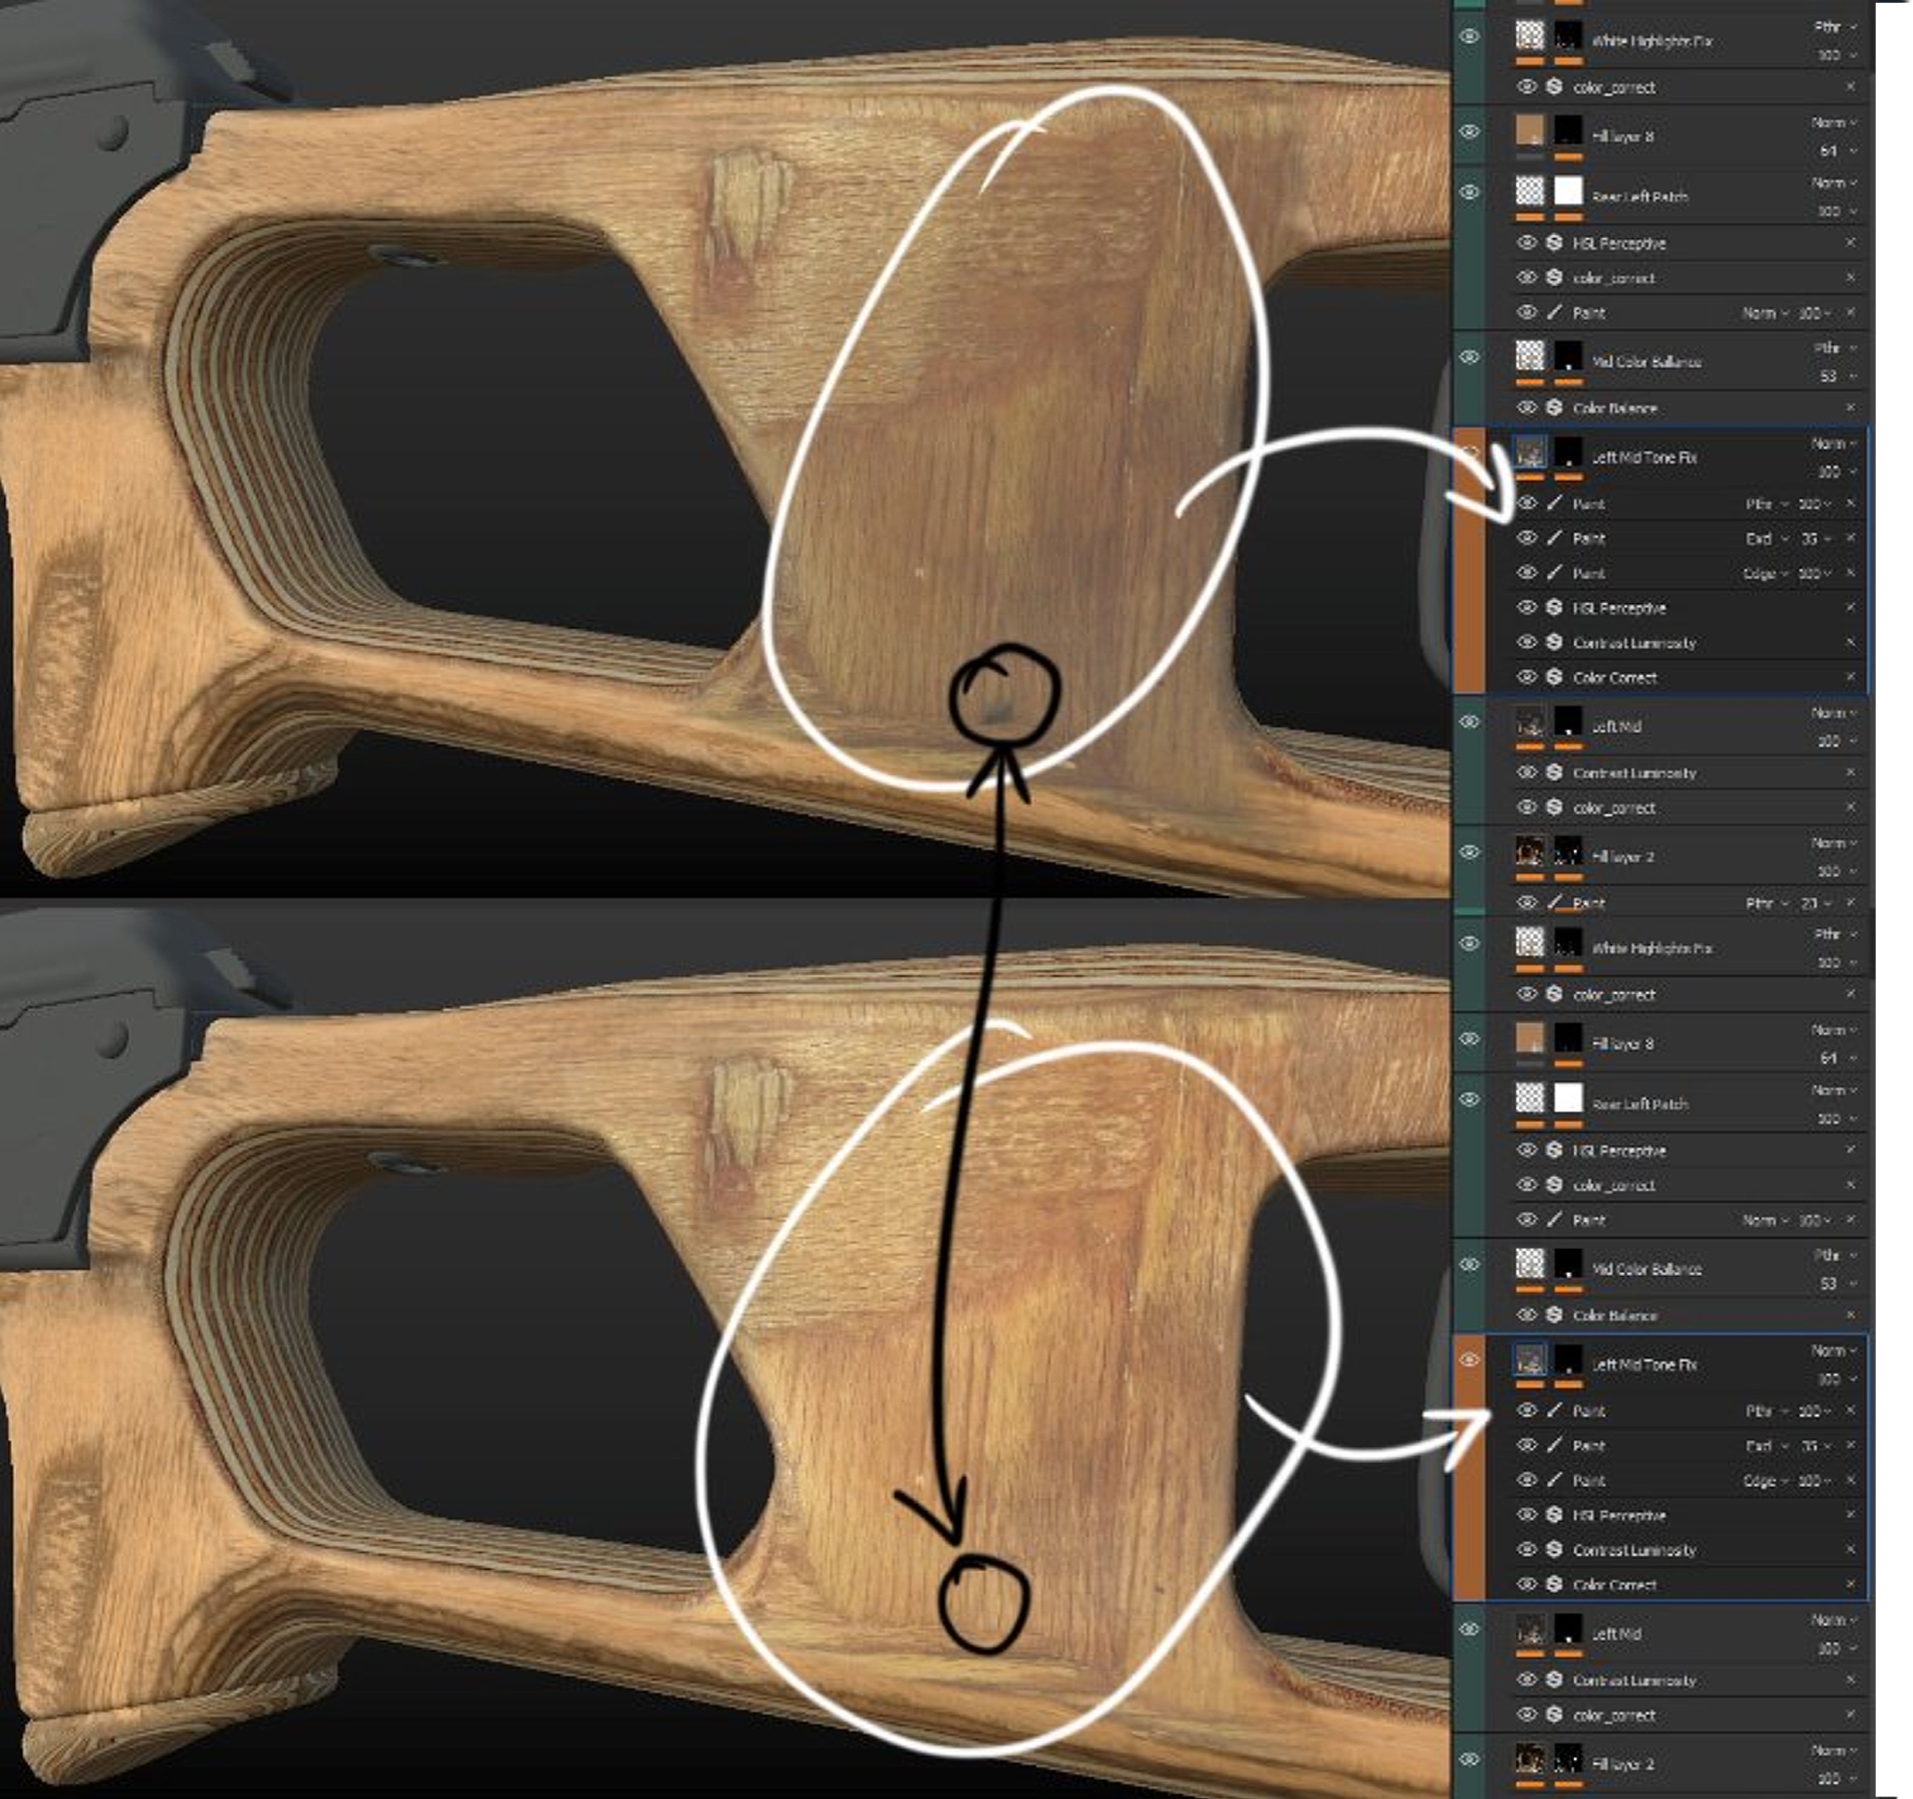
Below you can see a clear example of tweaking the shadows and removing an unwanted spot from the texture:
Generating Height & Roughness from a photo
One more thing you can do now that you have a solid base color is to extract a mask.
Check the r/g/b channels and see which one looks more promising. You can now tweak the extracted mask and make something that helps you create the roughness and height needed for the material.
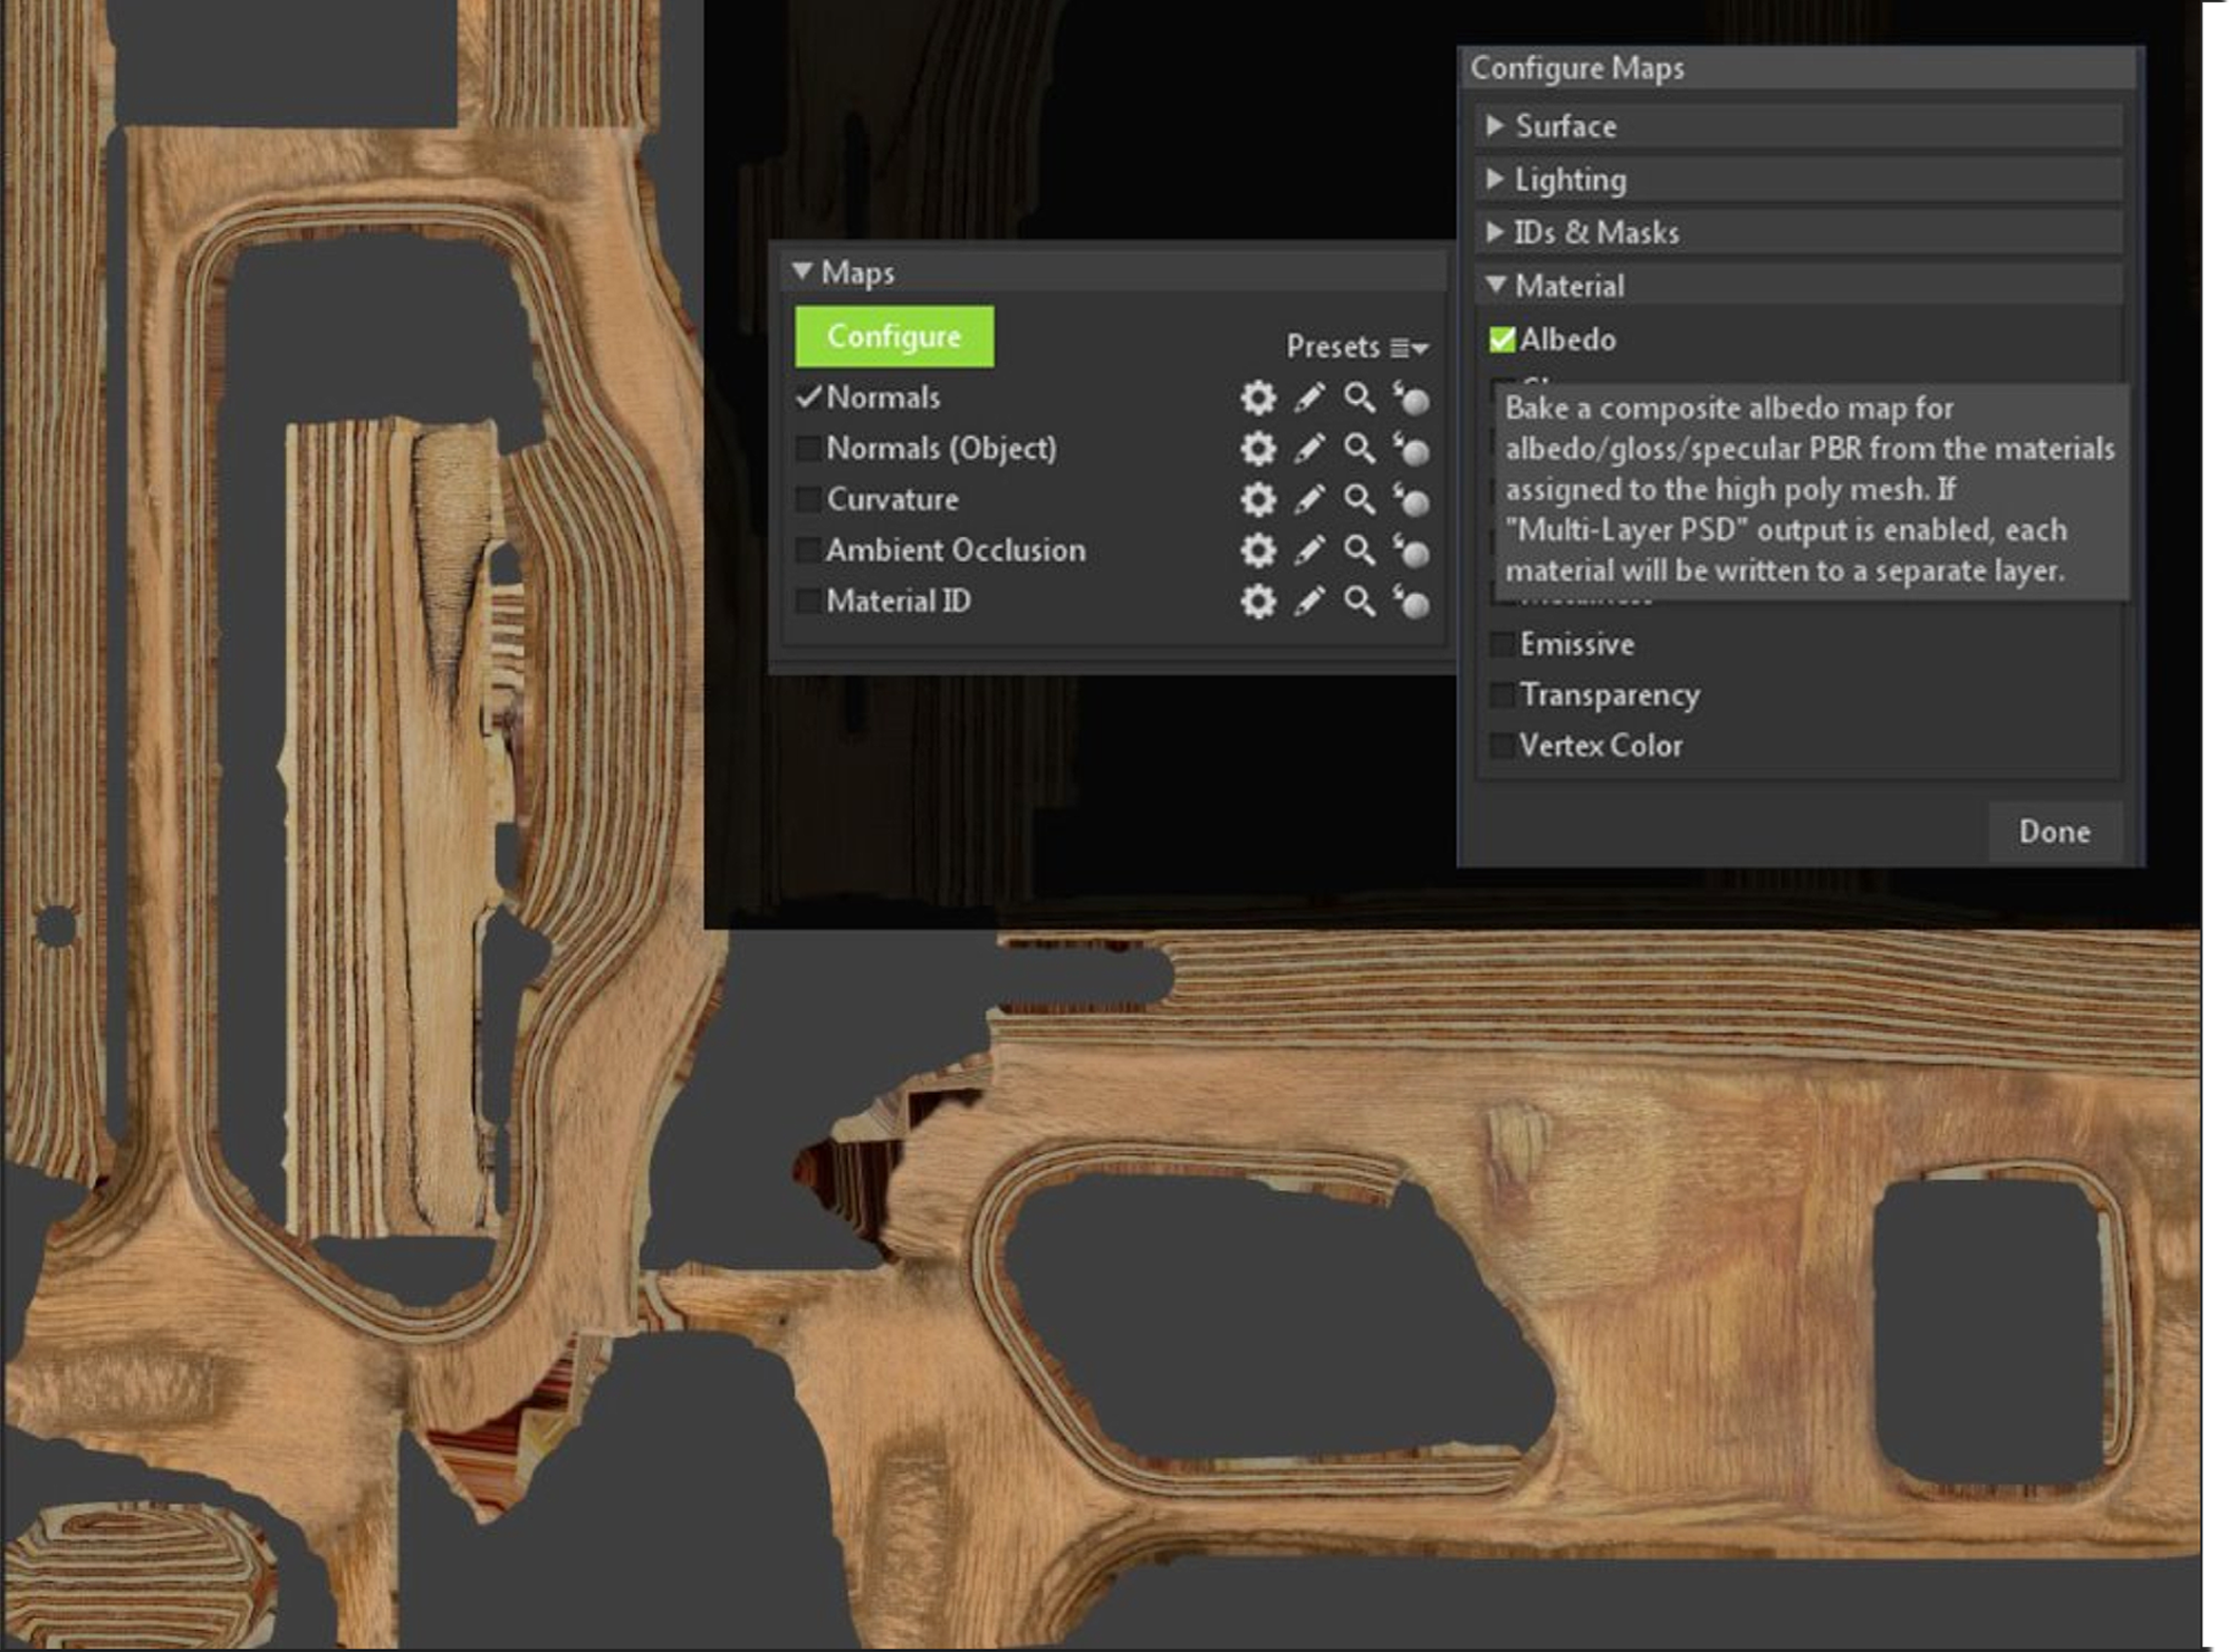
Albedo Baking
Having the wood textures “finished”, the next step is baking those textures on the lowpoly.
You need to go in the “configure” tab right above the regular bakes and enable the albedo.
This technique is very powerful and can be used for switching texture maps on the same model.
E.g: you make 20 modular props each with its own texture: you can make a “trimsheet” and bring all 20 models on a single UV map and a single texture.
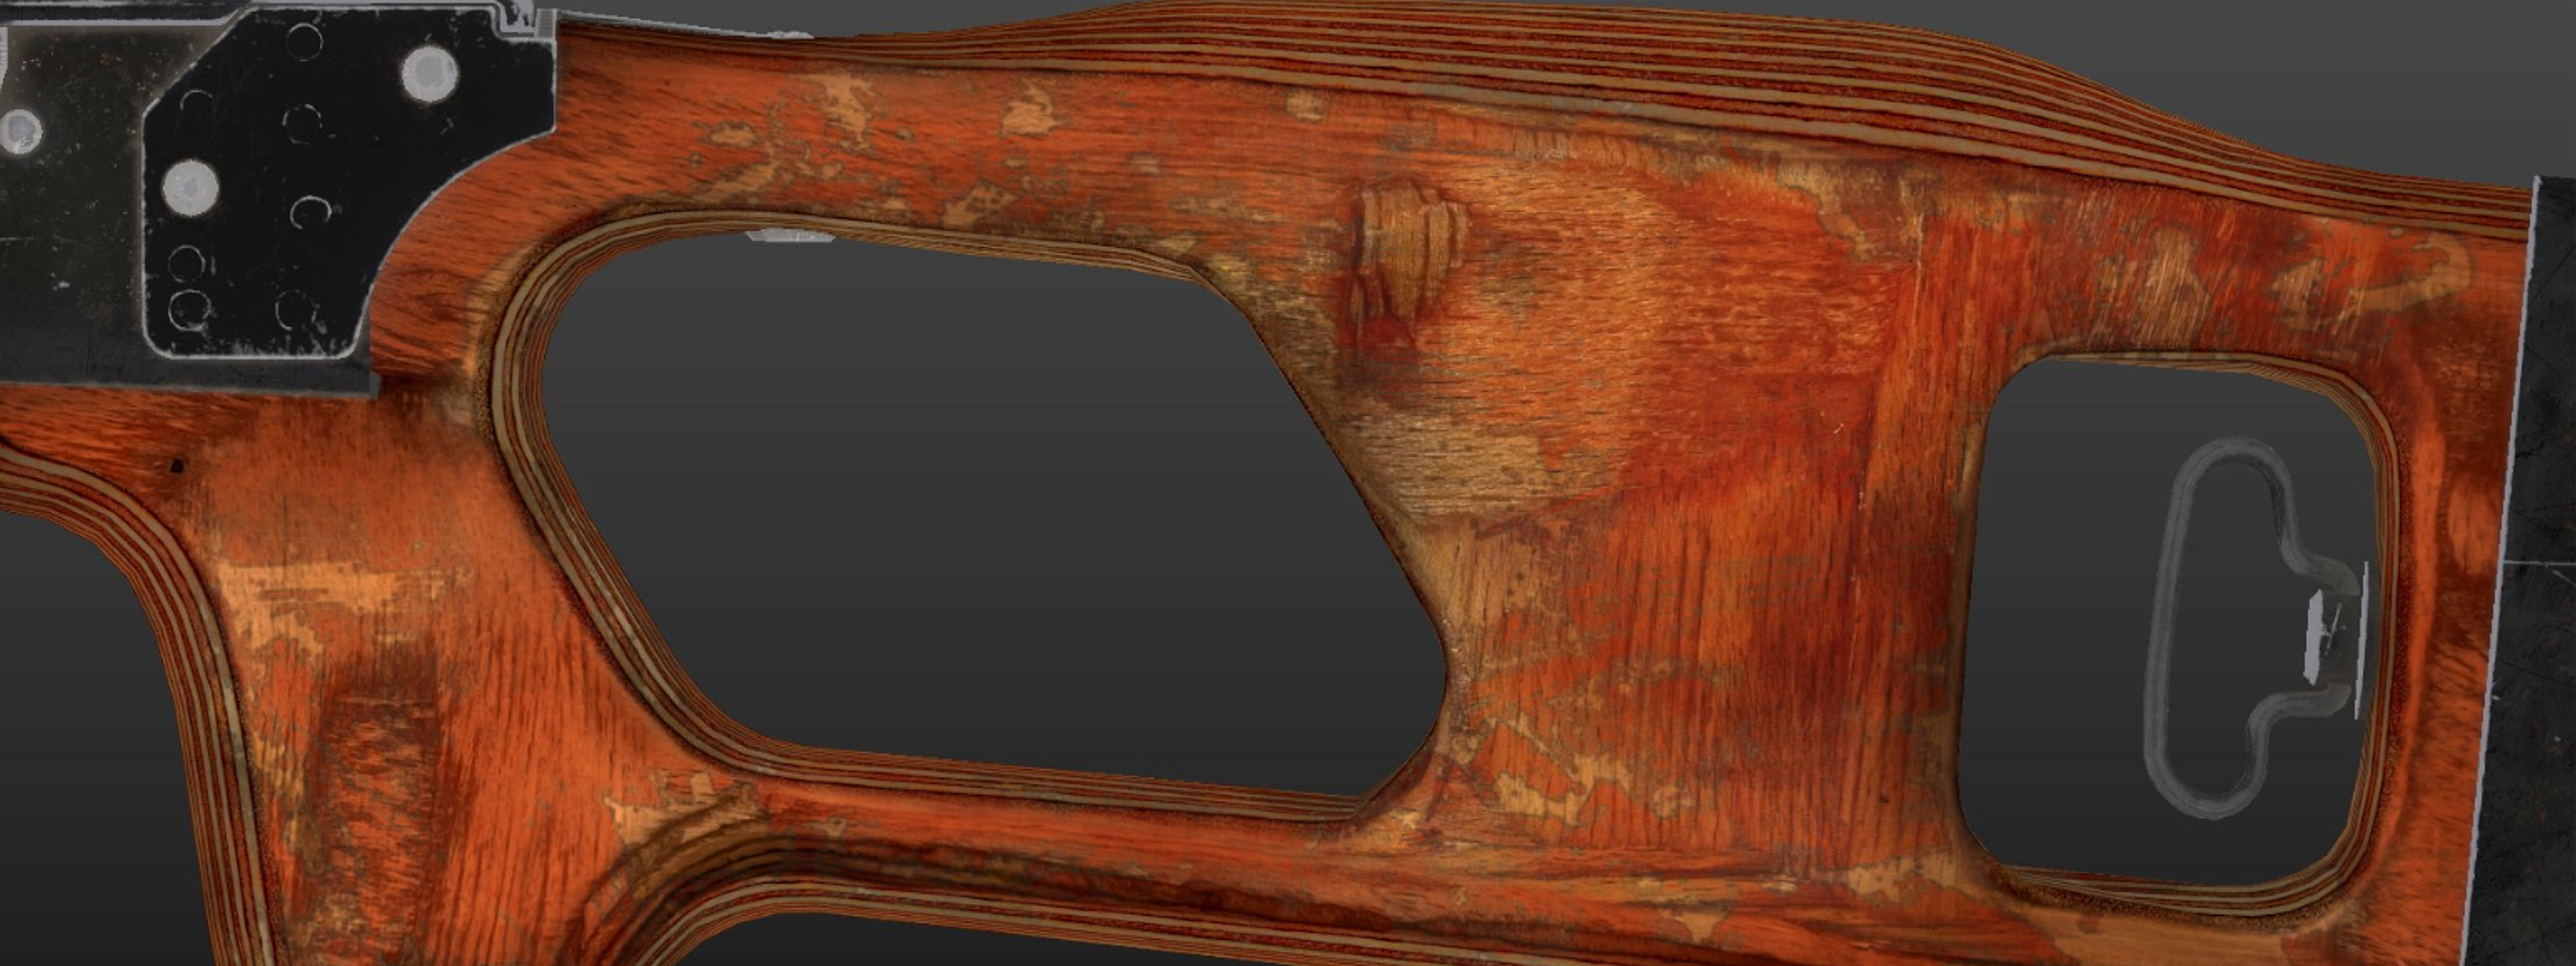
Final Touch-Ups
Until this point, the making of the wood was based entirely on photos. It is time to add some personality.
The lacquer mask is one of the most important ones because it adds a whole new level of detail by using what we already built. Below I gave it some color for visibility, but in reality it only has roughness, height and saturation values.
I don’t think procedural patterns have a place in this mask, so that is why it is created entirely with stencils.
While creating the lacquer mask, I tried to copy the chipping paint look, the scratches and the different thickness values.
Just like in real life, the lacquer gives the wood a deeper and a more vibrant color. Where the mask is chipped, by having some grime, you can further solidify the idea of height in the lacquer.
Thanks for your attention!
This workflow expands on Patrick Sutton’s guide for creating a plywood material and it brings other new elements in the creation process.
Being limited to photos found online, I think this pushes the workflow close to its limits, but it can be further improved if you have access to a high-res library of photos.
This improvement can be spotted in the quality of the materials, but more than anything else, in the production time.
Realistic wood textures are by far the most difficult to achieve. This was just a small example on how to create a plywood material and the challenges you might face.
